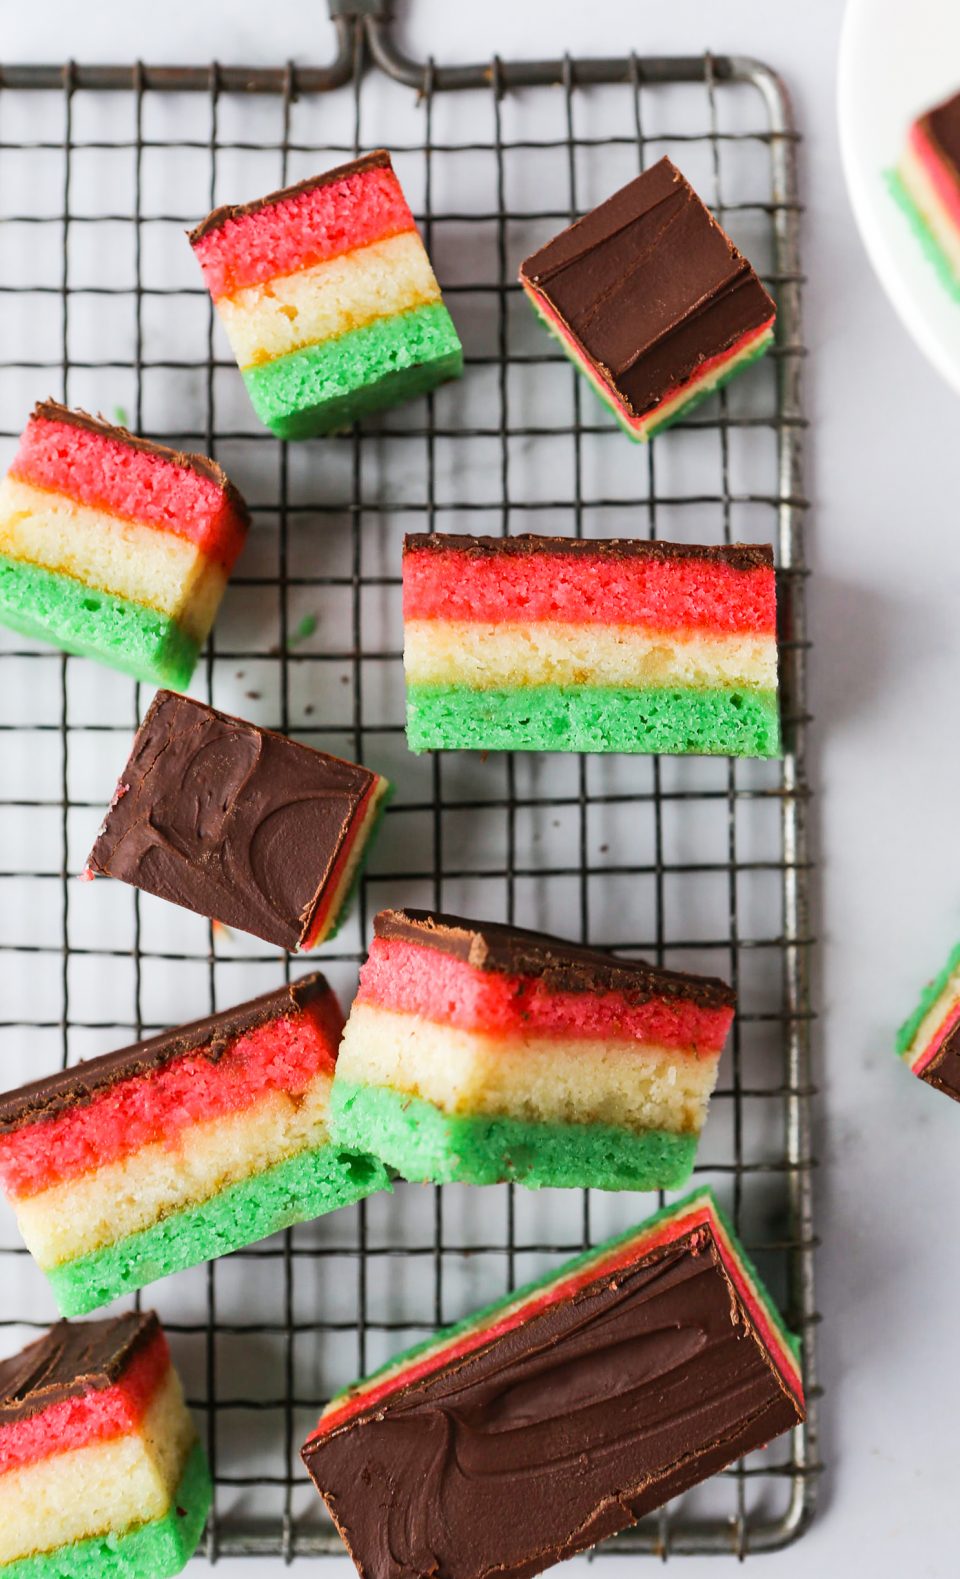
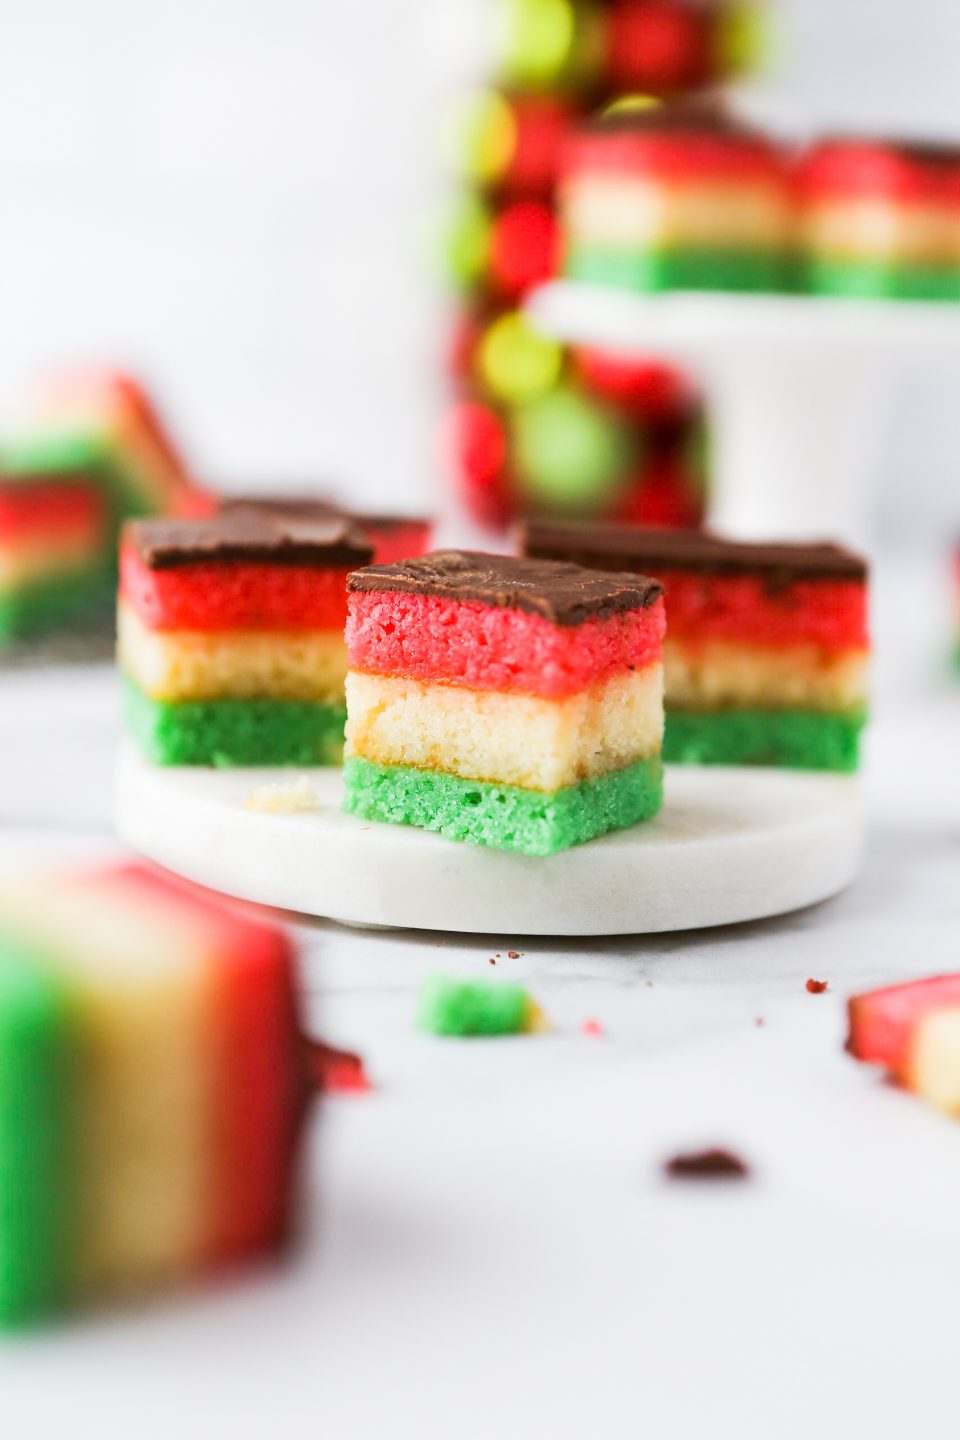
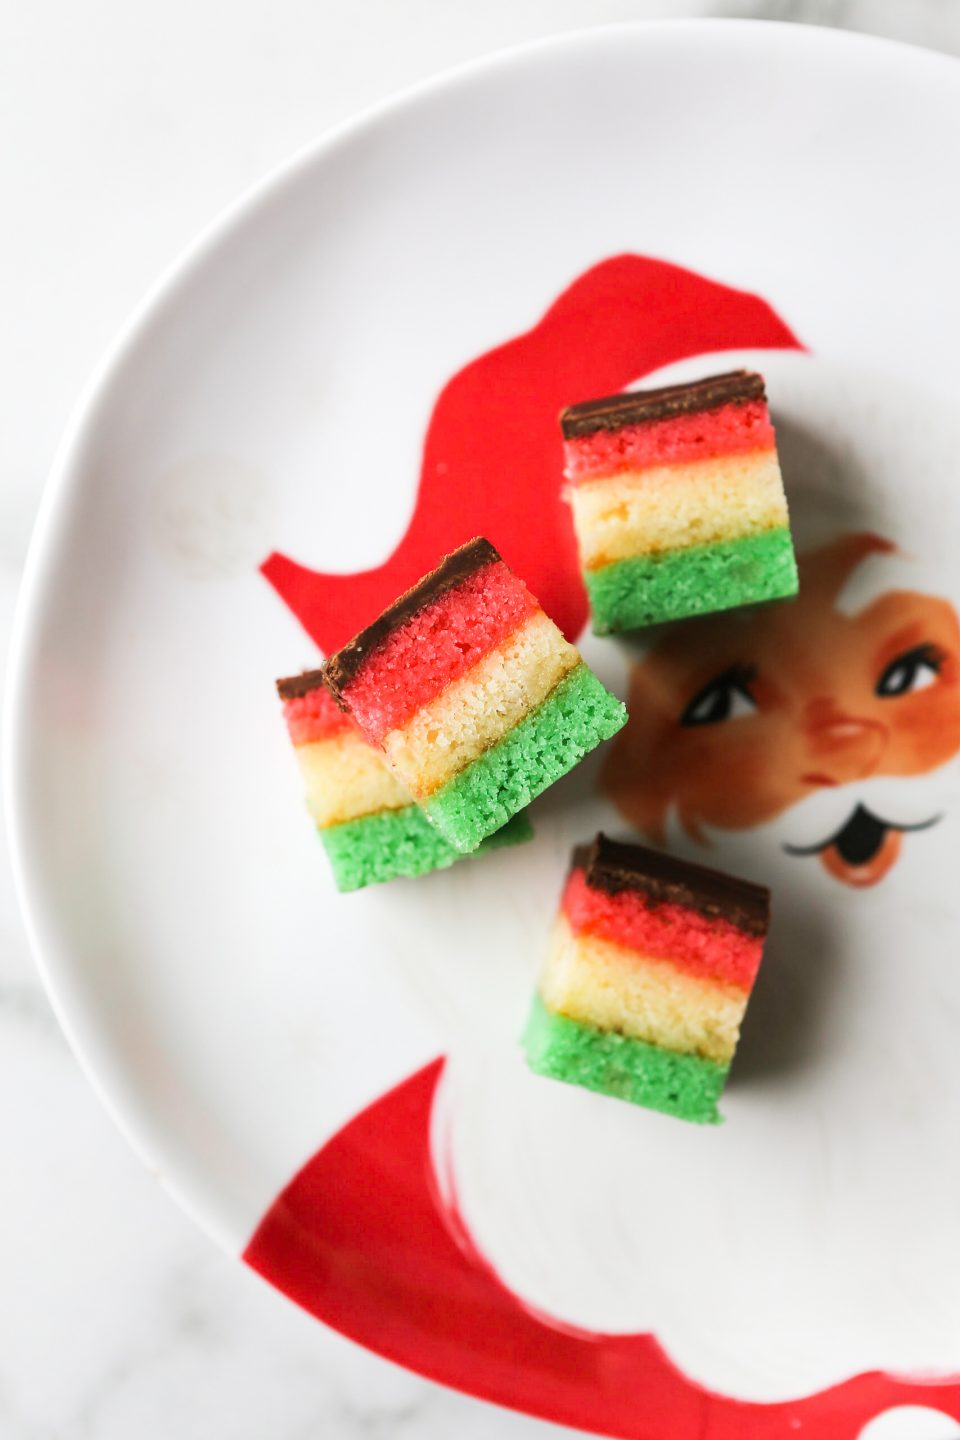
These gluten-free Venetians are the epitome of Christmas cookies! Layered with almond, apricot, and semi-sweet chocolate flavors. These unique and decadent cookies come in a bite-sized piece which means you can eat more than one. Plus, they’re red, green, and white so you can’t get more Christmas than that!
I am going to warn you that these are quite time consuming but worth every second of it. Trust me!

A Cookie With Many Names
Venetians may be what you also call these cookies, but they can also be known as Italian Rainbow or Neopolitan cookies. As kids we referred to them as “sandwich” cookies…and maybe we still do.
My paternal grandmother made them each year for Christmas, along with about 20 other varieties of cookies. The funny thing is that she would only put like four Venetians out on her platter of hundreds of cookies. Inevitably, my sisters and I would be fighting over them.
My mom knew how much we all liked them so she started making them after my grandma passed away. You will make these in a 9×13 inch pan and then cut them into 1-inch squares so you’ll actually get quite a few cookies out of one batch.
Gluten-Free Ingredients
Since my Celiac Disease diagnosis in 2017, I have been a loyal fan of Bob’s Red Mill 1-to-1 Gluten-Free Baking Flour. However, I have recently been using the Cup4Cup Multipurpose gluten-free flour which has been giving me excellent results. Honestly, the Cup4Cup is a finer flour than Bob’s and it is proving to be less gritty and dry tasting, in my opinion.
Almond paste is essential to these gluten-free Venetian cookies because it lends a true almond flavor. The recipe does also call for almond extract which adds a pop of flavor. But you wouldn’t want to only use the exact in this recipe because it would be artificial tasting. Many grocery stores carry almond paste and it is found near the baking products. An example of a good brand is Solo which is specifically marked gluten-free and has minimal ingredients.

Time Consuming? Yes. Worth IT? YES!
There are a lot of steps to these cookies. You’ll most likely have a stack of dirty bowls and spoons along the way and your kitchen will be a mess! Be sure to plan ahead because after finishing the 1st set of steps because they need to be weighted down and refrigerated overnight before they are covered in semi-sweet chocolate and then cut into 1-inch squares.
An important step you don’t want to skimp on is making sure that you heat the apricot preserves enough so that you can strain them through a sieve. If you put the apricot preserves on the cake without doing this step then the layers won’t stick together – any leftover chunks of apricot will make the layers slide all over the place. The thinned out apricot jelly acts like a glue. The best tasting glue you’ve ever eaten!
You can use semi-sweet chocolate baking squares or even chocolate chips. I love to use semi-sweet chocolate for most of my baking. It’s just really versatile and goes with everything! One year my mom forgot to spread the chocolate on the top of these cookies before cutting them. So then she had to go back and try to evenly spread melted chocolate on these little teeny tiny cookies without it looking like a mess. I don’t think we noticed or cared, but that just added to all the time she spent on them!

I’ve got the process down now after making these for the last 5+ years. I hope you give them a try, too!
Gluten-Free Venetian Cookies
Ingredients
- 8 Ounces Almond Paste
- 1 ½ Cups Softened Butter - Equal to 3 sticks
- 3 Large Eggs (Separated) - Separate the yolks and whites
- 1 Cup Granulated Sugar
- 1 Teaspoon Almond Extract
- 2 Cups Gluten-Free Flour Blend, Sifted - Bob's Red Mill 1-to-1 or Cup4Cup are good options
- ¼ Teaspoon Salt
- Green Food Coloring - 10-15 drops
- Red Food Coloring - 10-15 drops
- 1 Jar Apricot Preserves - Most jars of preserves come in about 12 ounces
- ½ Cup Semi-Sweet Chocolate Chips - or a 3-ounce semi-sweet chocolate square
Instructions
- Break up the almond paste into a large mixing bowl. Add butter, sugar, egg yolk, and almond extract. Mix until light and fluffy (4-5 minutes).
- Sifted flour means to sift the flour and then measure. Sift the flour over parchment paper and then scoop into the measuring cup. Level off. Add the sifted flour and salt to the wet ingredients. Mix until it's well-incorporated and light and fluffy.
- In a separate bowl, whip the eggs whites until stiff peaks are formed. Fold the egg whites into the batter until they're well-incorporated.
- Divide the batter into three equal portions (about 1 ½ cups each – or you can use a kitchen scale to get exact measurements).
- Add green food coloring to one portion. Add red food coloring to another portion. Leave the last portion white.
- Preheat oven to 350°.
- Each of the red, green, and white batters will need to be baked separately. If you don't have three 9×13 inch baking dishes then it's OK to bake these one at a time. Line the pan/baking dish with parchment paper so that it comes up on at least two of the sides.
- Using a spatula, spread the batter evenly on the bottom of the pan. Bake in the oven for 15 minutes until the edges are golden brown.
- Let the cake cool for a few minutes and then remove from the baking dish (pull up on the parchment paper sling you made) and place on a cooling rack. If you only have one pan then wait until baking dish is cooled down a bit before adding the next batter in. The heat in the dish will melt the butter in the batter making it harder to spread.
- After all the cakes are baked then let them completely. While they are cooling, you can make your apricot jelly "glue".
- In a small saucepan on the stove, heat the apricot preserves. This will help to separate the jelly portion from the chunks of apricot in the preserves. Then strain through a sieve so you it is a smooth apricot jelly.
- Place the green cake on top of parchment paper on a flat cookie sheet (something without edges on it). I like to use my cookie sheet turned upside down.
- Evenly spread half of the apricot jelly on the top of the green cake making sure to get it all the way to the edges.
- Place the white cake on top of the green cake, lining up the edges. Don't worry if they're uneven beucase you'll trim the edges later.
- Evenly spread the remaining apricot jelly on the top of the white cake making sure to get it all the way to the edges.
- Place the red cake on top of the white cake, lining up the edges.
- Cover the layered cake in plastic wrap. Place a few heavy items on top of the cake to weight it down (like a couple of stacked glass baking dishes). Refrigerate overnight.
- After the cakes have been weighted down and refrigerated overnight, remove the plastic wrap. Next you'll need to melt the semi-sweet chocolate so that you can spread it on top of the cake. You can do this either in the microwave or on the stovetop.
- Spread the melted chocolate on top of the cake. Refrigerate until the chocolate hardens.
- Remove from the refrigerator and carefully trim the edges. Then cut it into 1-inch strips. Then cut those strips ito 1-inch pieces, making small square cookies.
Notes
- These freeze really well!!
- Don’t throw away the edges you trimmed off – those are perfect pieces for taste testing. 😉
Remember to PIN this recipe for gluten-free Venetian cookies!

Looking for some more gluten-free Christmas cookie ideas? Check out my recipe for the perfect gluten-free peanut butter blossoms!!


Do you freeze them with the chocolate on it
Yes I do! And my apologies for not responding sooner, I didn’t see this until now.
I would like to give these cookies a try. Can you give some tips on how you freeze them?
Hi Whitney! I make these ahead every year and freeze them so I’ll definitely share exactly how I do it. Follow all the steps in the recipe all the way through to the final cutting into 1 inch squares. Then I just place them usually in one of those disposable foil baking pans. But you can use a 9×13 baking dish too. If I need to add a second layer on top then I just place some parchment paper on top of the bottom layer and add more to the top. Then I cover them with tinfoil so they are as airtight as possible. I’ve frozen them for up to 3 weeks before. Then I take them out usually in the morning so they can thaw and I serve them with the rest of my holiday cookies after dinner. Hope that helps!