These gluten-free cream puffs are delicious! A special treat using a very versatile and easy pate a choux dough base. I hope that the work that I’ve done practicing this recipe and writing out detailed instructions for you will help you feel like a confident French baker!
Disclaimer: Please note that some of the links below are affiliate (Amazon) links and I will earn a small commission if you purchase through those. It is so important for me to only suggest products and tools that I use and love and that I know you will, too! Let me know if you have any questions about anything listed below.
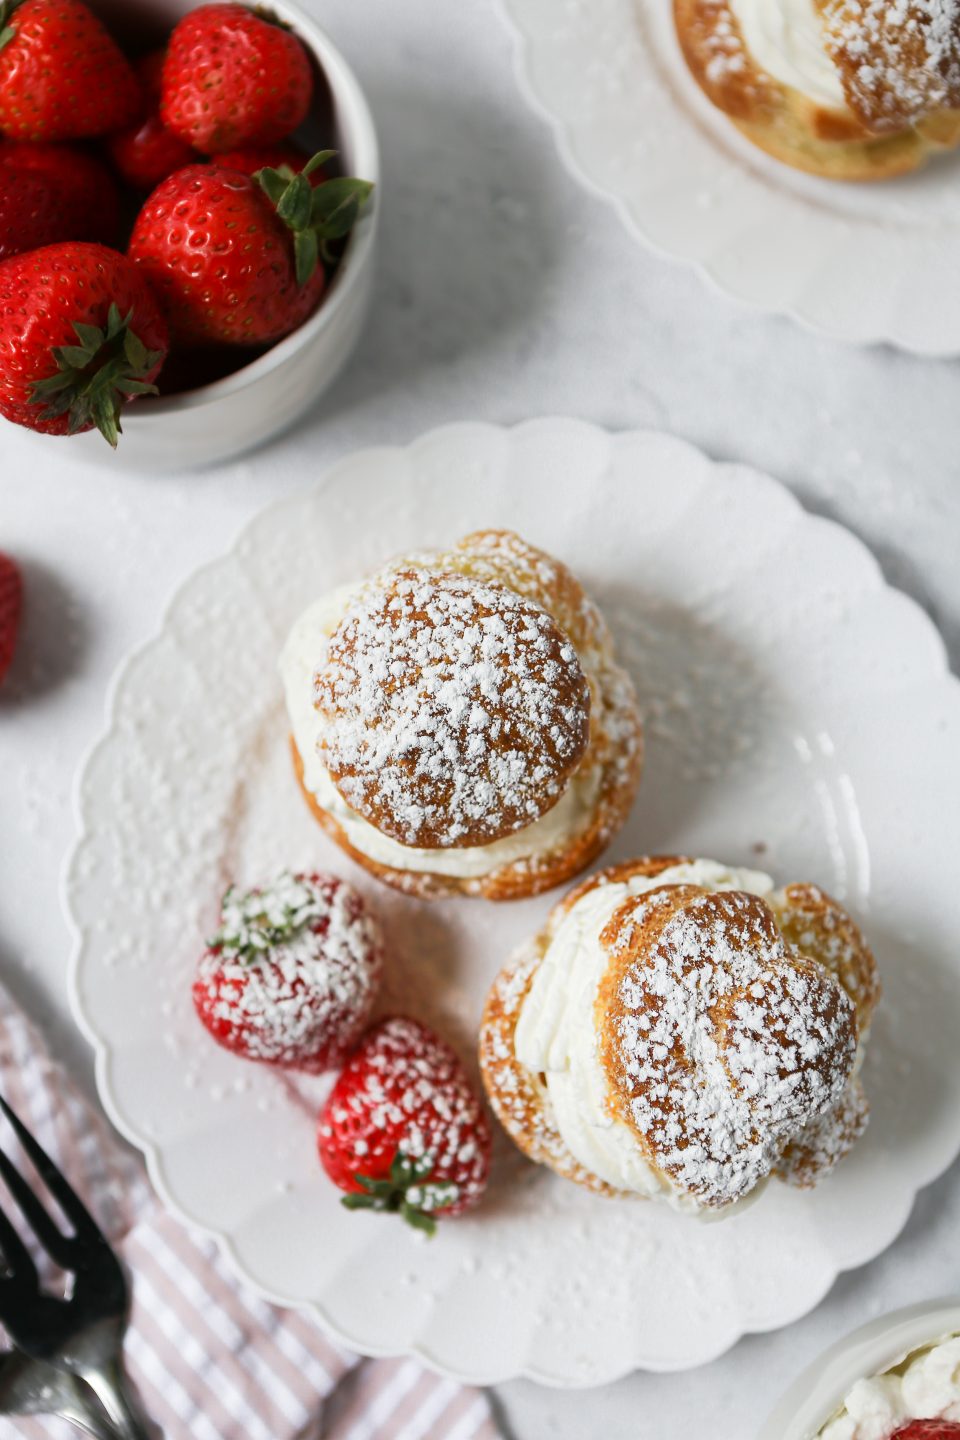
Gluten-Free Pate a Choux pastry
I am going to show you how to make a very versatile, and fancy sounding, pastry base called pate a choux (or choux pastry). Thekitchn.com has a great explanation to help us all understand exactly what pate a choux pastry is: “Pâte à choux, or choux paste, is a paste made of flour, water, butter, and eggs — it’s slightly thicker than a batter, but not quite as thick as a dough. It’s pronounced “pat a shoe,” although neither patting or shoes has anything to do with it. “Pâte” means paste and “choux” means cabbage — the name comes from the resemblance to little cabbages when the puffs come out of the oven.”
Ingredients
There aren’t too many ingredients to this cream puff recipe, it’s just all about the technique. Here is what you’ll need:
- Butter
- Water
- Sugar
- Salt
- Eggs
- Gluten-Free Flour

As I have mentioned in previous blog posts, I am a big, big, BIG fan of Caputo Fiore Glut flour. I especially love it breads and pastries and this recipe is no different. This specialty Italian flour can be found on Amazon.com and the reason that I love it is because it is super fine (and that’s hard to find in gluten-free flour). I also use this flour for my Gluten-Free Yeast Dinner Rolls, New York Style Bagels and Perfect Gluten-Free Pizza Dough. My detailed explanations for why I love this flour are in those blog posts I mentioned above.
Technique
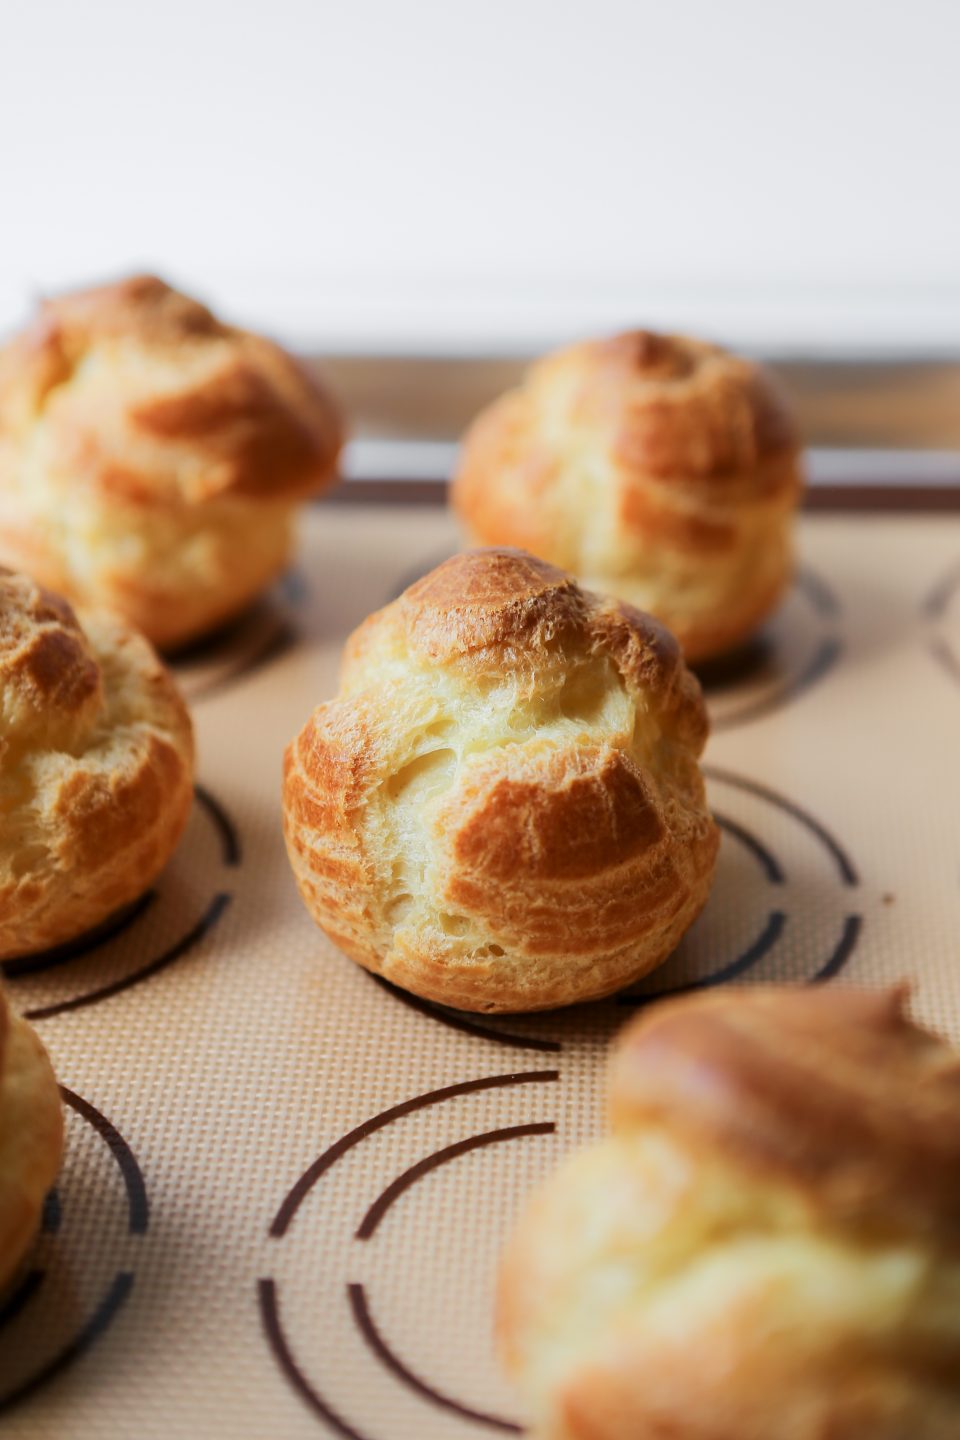
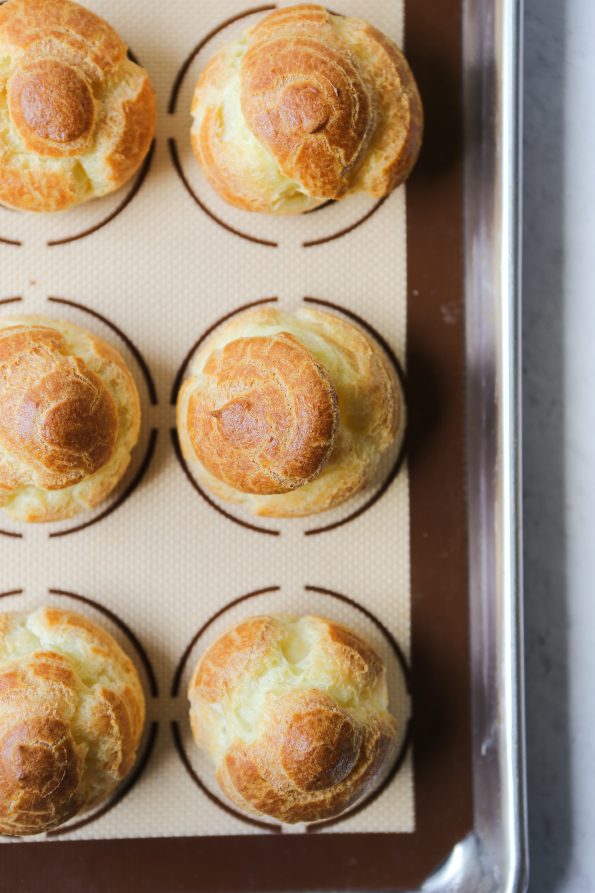
Pate a choux pastry gets really puffy because of the eggs in them. They really expand when baked, which is exactly what you are looking for. It’s so important to follow the directions exactly because these are very delicate. Also, don’t try to undercook them just because they look done. If you take them out too early they will deflate almost immediately. This type of pastry needs to bake for the full time to release all of the moisture that is in the dough. Long and consistent heat keeps them nice and puffy.
I do use a pastry bag with a large round piping tip on it to get nice little dollop of dough on your baking tray. This is an inexpensive set of pastry bags that comes with tips that I purchased from Amazon.
I will give you a little hint for these, too! You can make a more savory version of these gluten-free cream puffs and they taste just like popovers. Just decrease the sugar in the recipe down to ½ Tablespoon and increase the salt to ½ Teaspoon. Prepare the dough and cook them exactly the same way. Serve them warm with butter!
Gluten-Free Cream Puffs (with Whipped Cream Filling)
Ingredients
For the Pate A Choux (Pastry Dough)
- 8 Tablespoons Unsalted Butter - Equal to 1 stick
- 1 Cup Water
- 1 Tablespoon Granulated Sugar
- ¼ Teaspoon Salt
- 1 Cup Gluten-Free Flour Blend - For this recipe I like a super fine flour like Caputo Fiore Glut
- 4 Eggs
For the Whipped Cream Filling
- 1 Cup Heavy Whipping Cream
- ¼ Cup Powdered Sugar
- ½ Teaspoon Vanilla Extract
Instructions
For the Pastries
- In a medium saucepan on the stove, heat the water, butter, sugar, and salt until the butter is completely melted.
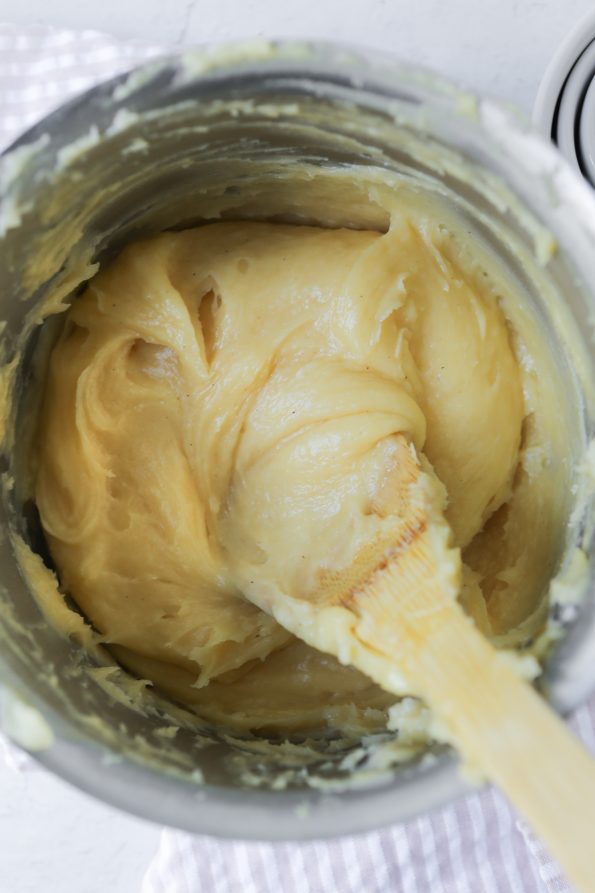
- Add in the flour and mix until it is completely incorporated with the butter mixture. Continue to stir for another couple of minutes to release some of the heat. The consistency will be similar to play-doh. I like to use a wooden spoon for this step.
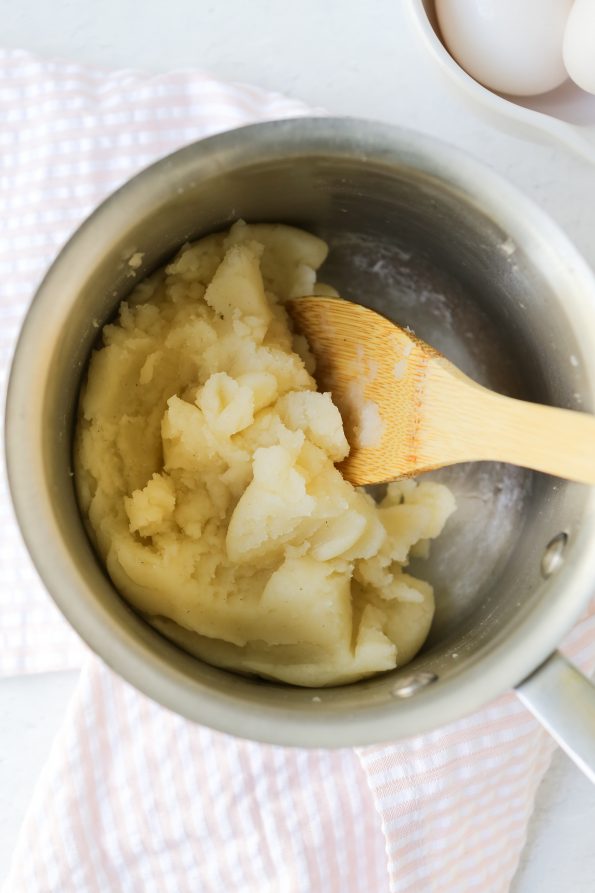
- After the butter/flour mixture is cooled slightly, add in the eggs (one at a time). After each egg is added, mix until it is completely combined. It will seem like the dough is separating and almost slimy during this step. Keep stirring and it will all come together.
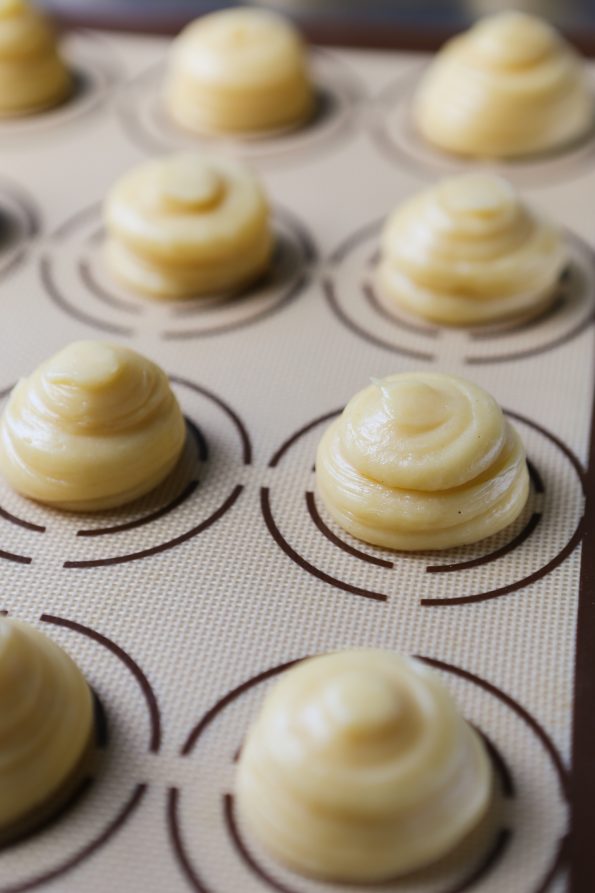
- Add the dough to a pastry bag fitted with a large, round piping tip (you can also use a ziploc bag with the corner cut off). On a large baking sheet lined with either parchment paper or a silpat baking mat, squeeze out a small round amount of dough and then slightly raise the piping bag as you are continually squeezing it. You are looking for a mound that is about 1½ inches wide and 1½ inches tall.
- Wet your fingertips and slightly flatten the top of the dough mounds before baking. You are still looking for a very round shape, but sometimes you can get a little "tail" at the top when piping. If you don't flatten that tail down, it twill burn.
- Bake at 375° Fahrenheit for about 35-37 minutes.
- Cool completely.
For the Whipped Cream Filling
- Using the whisk attachment on your stand mixer, whip the heavy cream until it forms stiffs peaks. This will take about 3-4 minutes. (You can also use a hand mixer for this step).
- Add the powdered sugar and vanilla extract and mix until well-combined.
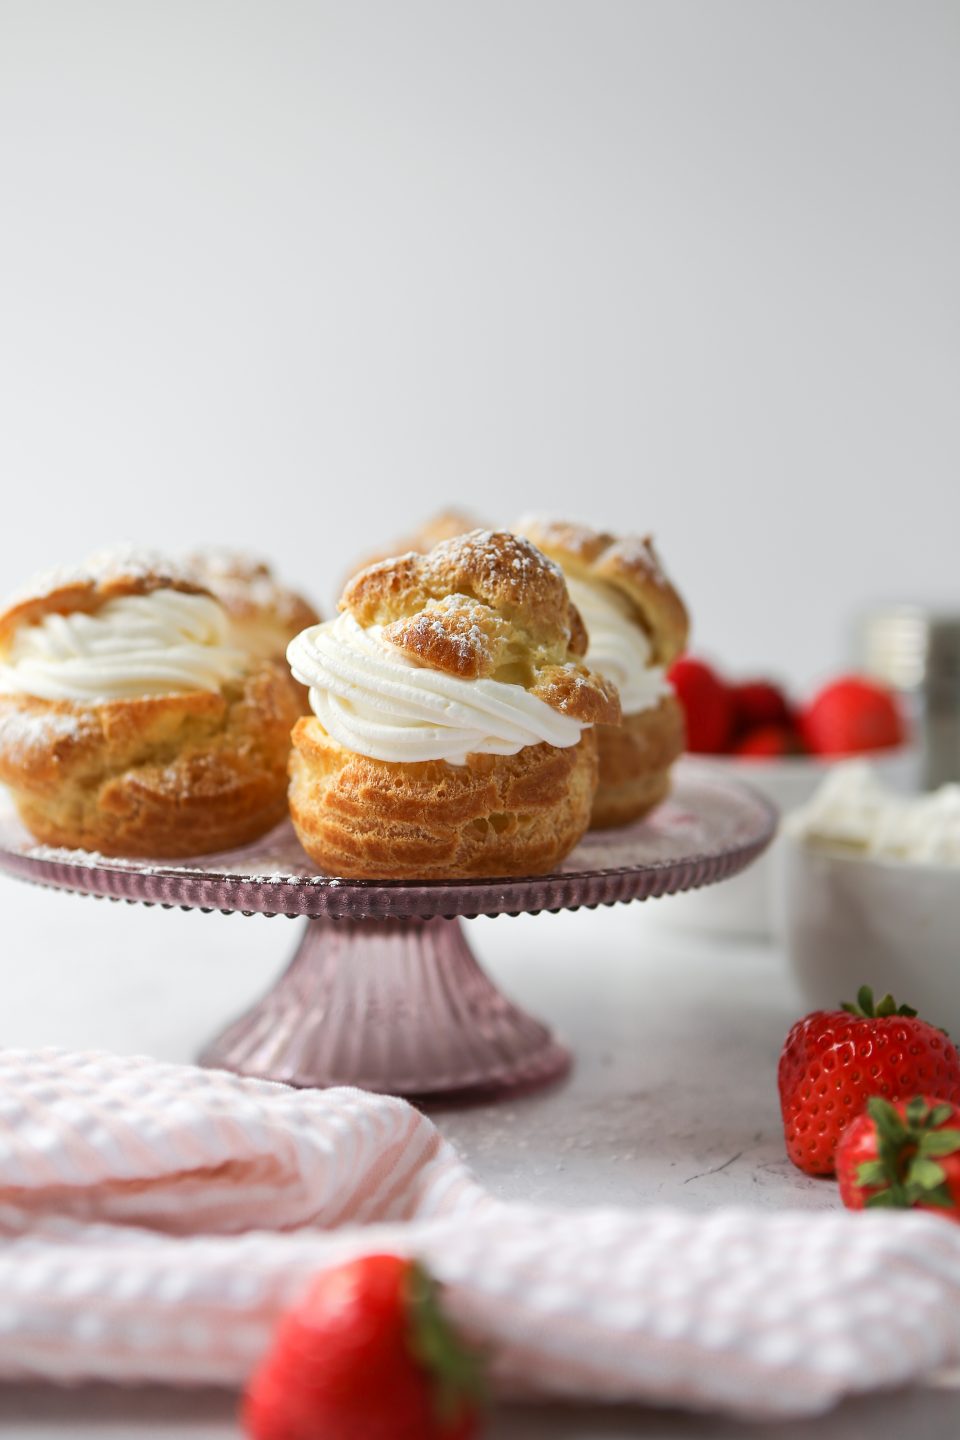
- Cut the cream puff in half. Remove the top, and place a large spoonful of whipped cream inside and gently put the top of the cream puff over the whipped cream. Sprinkle with powdered sugar and serve. Store leftovers in the refrigerator.
Remember to PIN this recipe so you have it for future!!



WOW!! I’m loving all of your recipes make with the Caputo Gluten free flour. These cream puffs were amazing!! I can’t eat dairy so they were also dairy free. Made them for Mother’s Day and my non-gluten free family loved them. I was feeling lazy so I opted to use a large cookie scoop instead of piping them. I will definitely be making these again, and again, and again. Thank you so much.
I’m so glad you’re having all of this success with the flour and the recipes!