Here is how we make our perfect gluten-free pizza!
Disclaimer: Please note that some of the links below are affiliate (Amazon) links. I will earn a small commission if you purchase through those. It is so important for me to only suggest products and tools that I use and love and that I know you will, too! Let me know if you have any questions about anything listed below.
I was lucky enough to be able to travel to Italy in the summer of 2018. When I returned, the one thing I said to my husband was that we had to find a way to replicate the out-of-this world gluten-free pizza that I had there. Of course, Brian started researching…because that’s what he does best.
I think we have finally mastered the perfect gluten-free pizza!

How to Make It Special: A Portable Pizza Oven
One of the most important parts of making a great Italian style pizza is the oven. The way they make their pizzas in Italy is usually in a wood fired oven. Temperatures get super hot and they cook it really quickly, like in 90 seconds. Fresh made dough and toppings are also key.
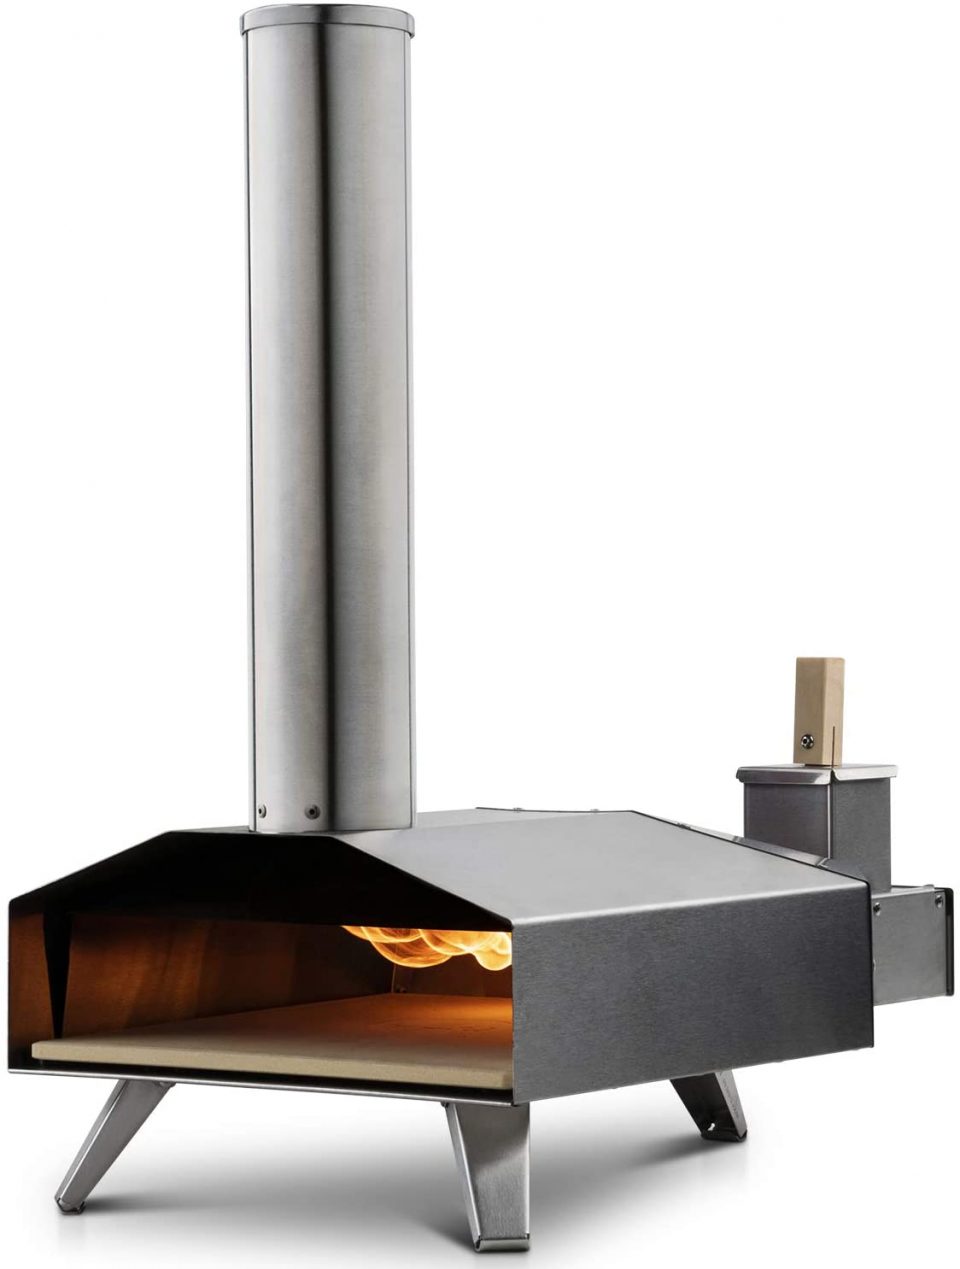
We don’t have a big, fancy pizza oven at home but we have the next best thing: an Ooni portable pizza oven. It is fueled by either wood pellets or you can hook it up to a propane tank, similar to a grill. We just bring out the oven when we are going to make pizzas and store it in the garage. It’s one of those gadgets where we actually DO use it! Don’t we all have kitchen tools that we think we’ll use soooo much and then they just sit there collecting dust?!
Flour Is Important
Ok, so the next thing we had to research was the best gluten-free flour to use. We had a trial and error period when we tried some different types of flour.
What we landed on was the Caputo Fioreglut. This Caputo flour is made in Italy. Please note: It does contain wheat starch (not gluten – they have a special process to remove just the starch from the rest of the wheat grain). If you’d like to hear all about all the research I did and why I feel it is safe for myself (as a person with Celiac Disease) to consume, then head over to my blog post for my Gluten-Free Yeast Dinner Rolls. I have ALL of my information in that post!! The best place to purchase this flour is on Amazon.
It took us some time to get the measurements juuuust right, but we’ve done all the hard work for you and I think you’ll really like this recipe! Below I will include directions for how to make your dough just right and how we cook it in our Ooni pizza oven. I’ll also have instructions for how to make it in the conventional oven. Because I know that not everyone has a pizza oven.
How To Make The Dough
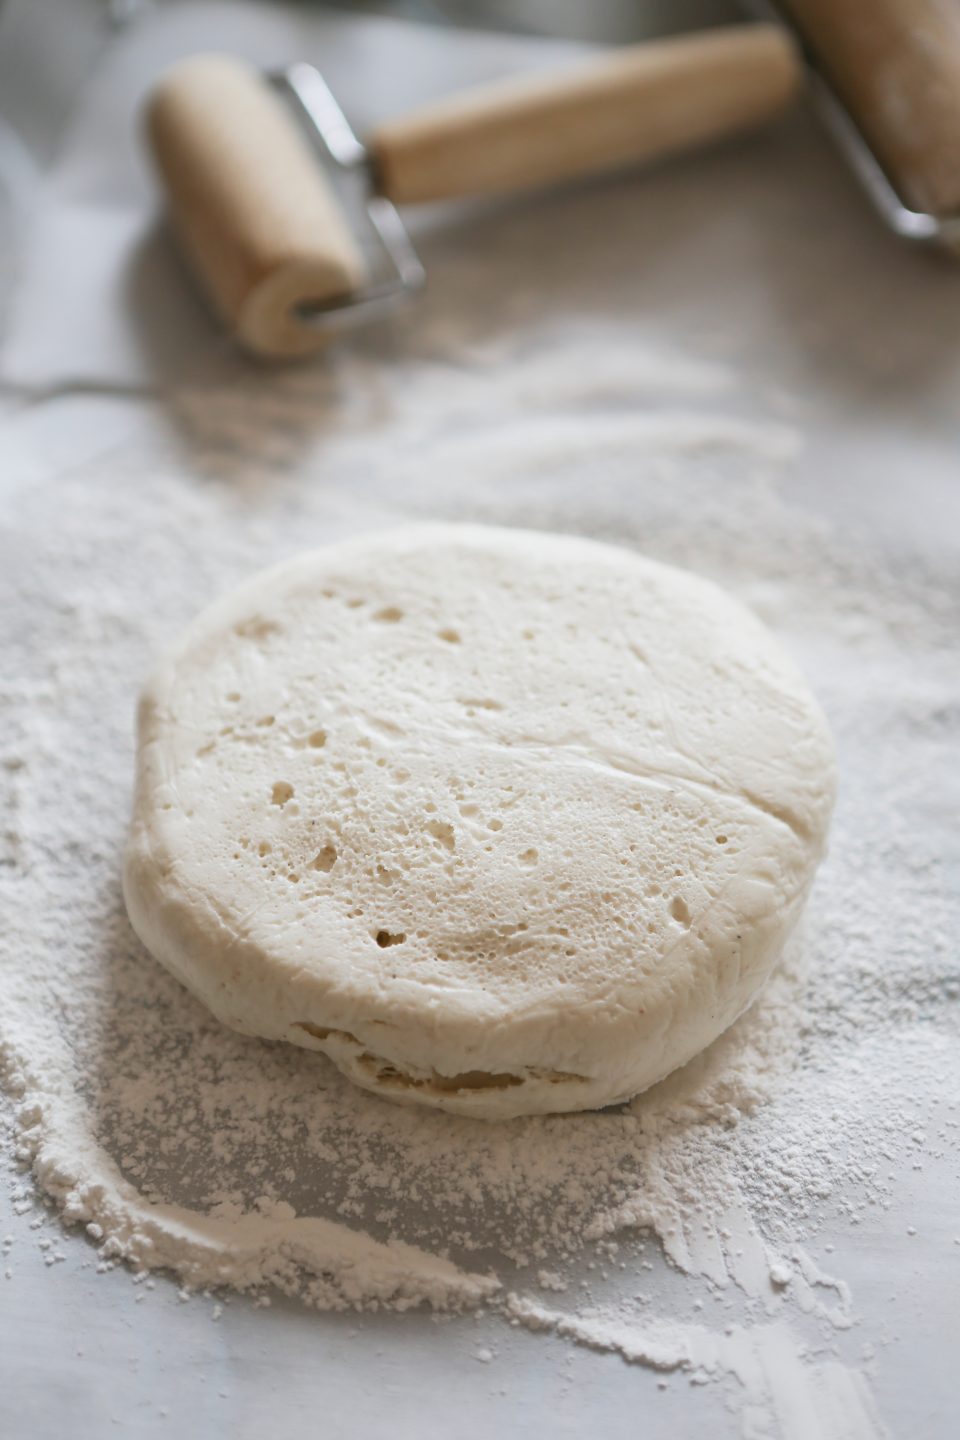
You need to plan ahead just a little for this dough because it will rise on the counter for a few hours. Gluten-free yeast dough is different from regular dough because it only needs one rise. Usually if you are making regular yeast dough you let it rise, punch it down and shape it, and let it rise again. But that step is strictly for the production of gluten. And…since we don’t have gluten in this recipe, there isn’t too much work that goes into it!
After our dough is mixed, we separate it out into portions that will then be our individual pizzas. It is going to be important to have a kitchen scale for this recipe, and especially for this step, so that all of your pizzas are about the same size. We do our measurements in grams here because it just makes the dough consistent every time!
And if you’ve done any gluten-free baking before you know that the flour can be much more finicky than regular. We make sure that our prep surface has enough flour on it. That way the pizza dough can slide easily onto a pizza peel before transferring to the oven. This is an important step. We like to use rice flour for this part because it doesn’t have any flavor when it’s cooked. Sometimes other flours can be very pungent if they are cooked and/or burnt.
Extra Tools
There are some tools that really make the whole process easier. Of course, none of these are necessary, but I’ll share them in case they may help you:
- Silicone pastry mat (for rolling out the dough)
- Wooden pizza roller
- Pizza peel and baking stone
- Kitchen scale
- Digital thermometer (for checking the temperature of the pizza oven)
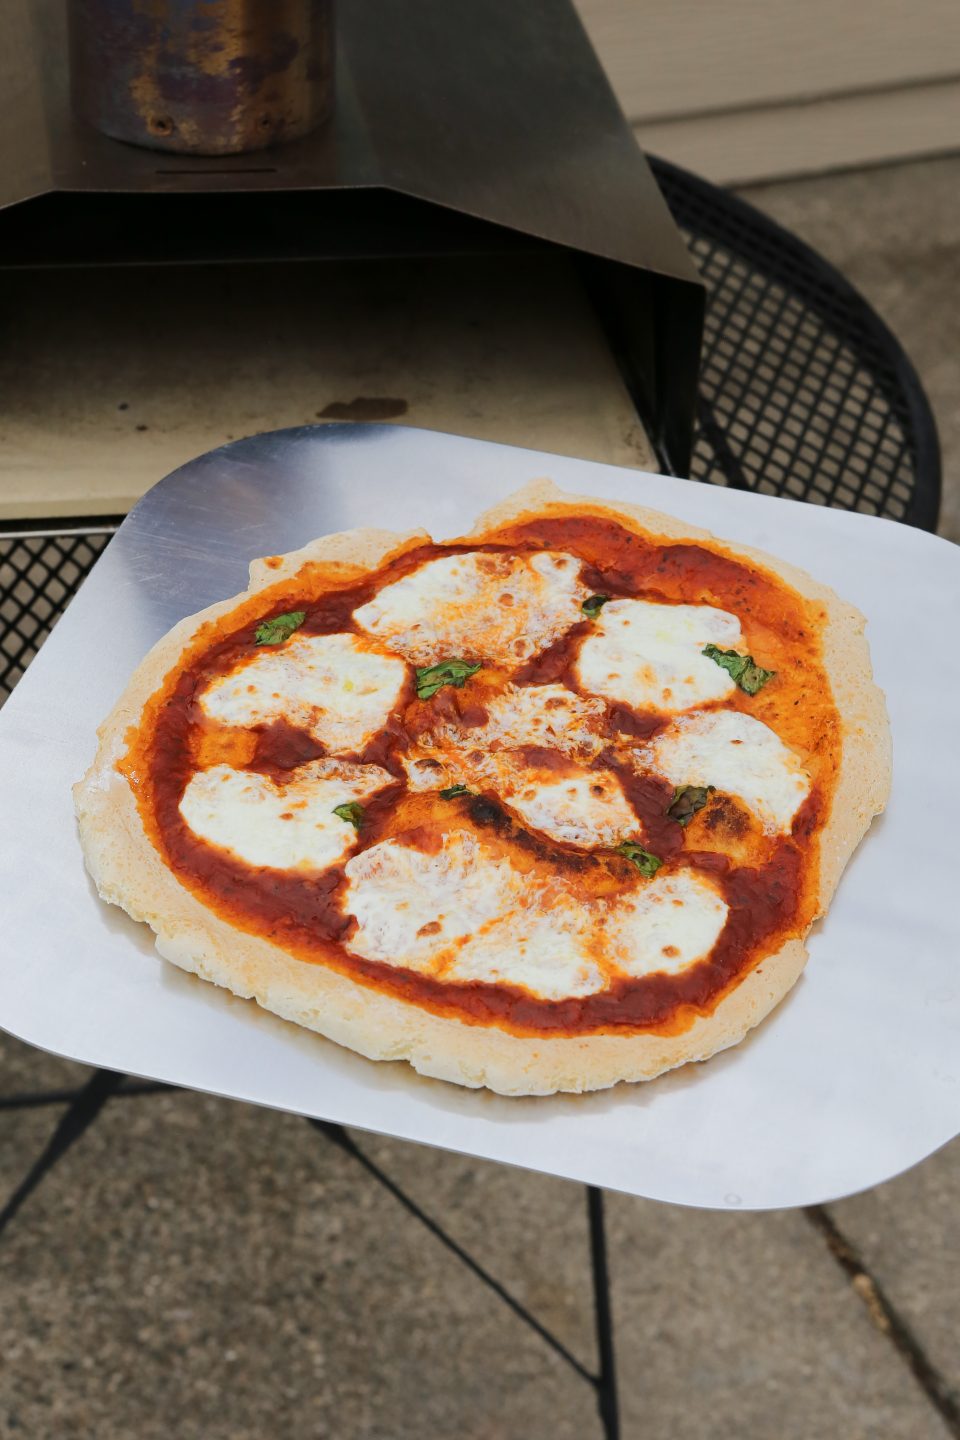
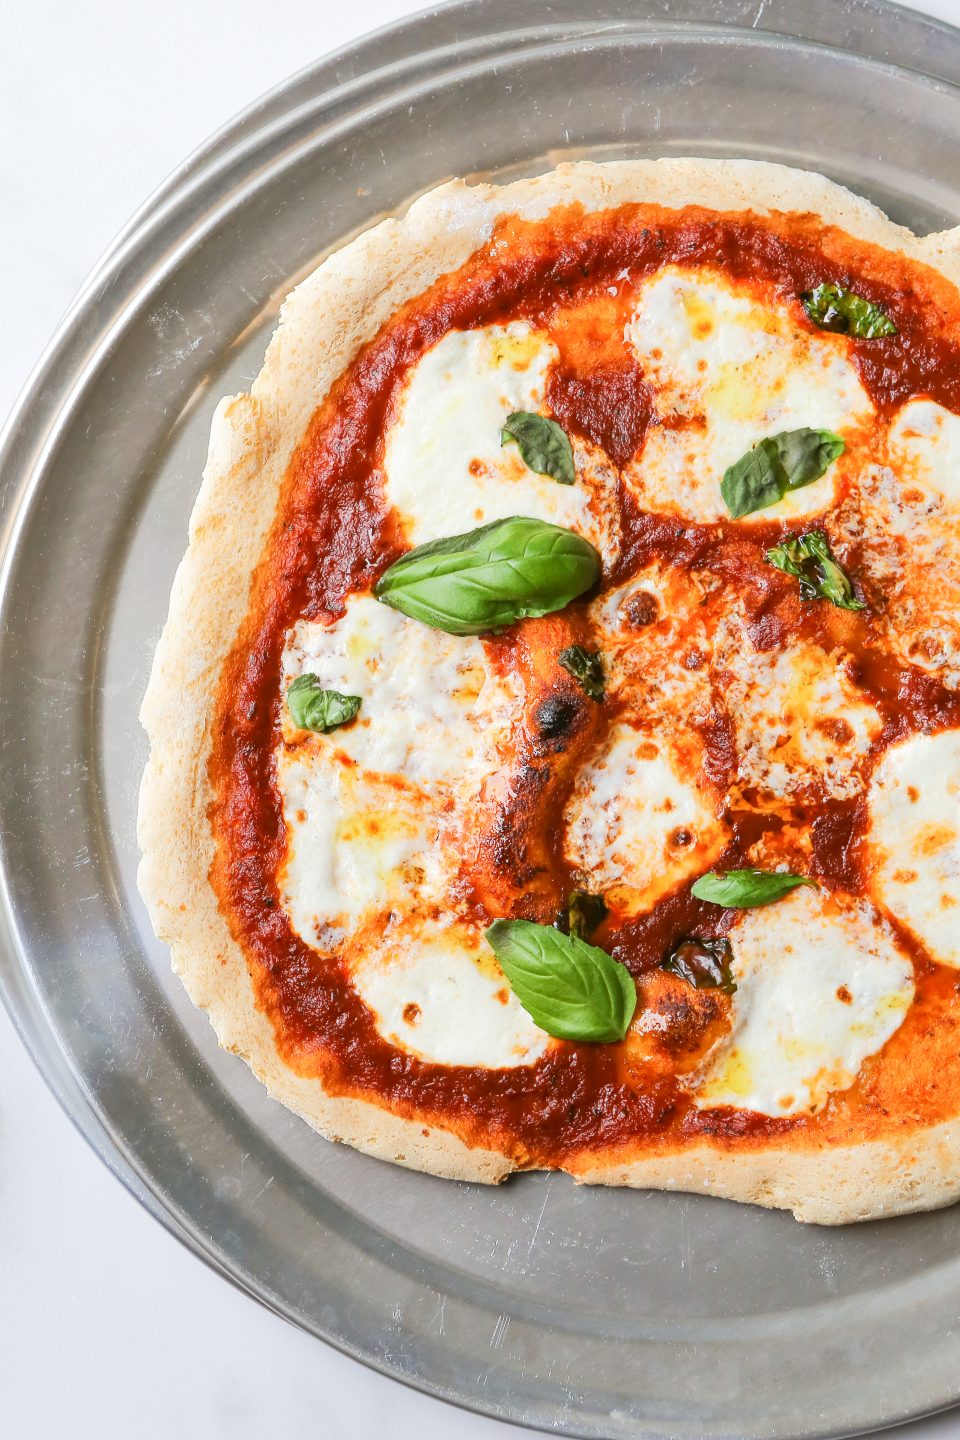
We like to make our pizzas just simple and classic. A good pizza sauce (store-bought is fine), thinly sliced Roma tomatoes, and fresh mozzarella and basil. The dough for these pizzas is on the thinner side, so that’s why I think it’s best with minimal toppings.
The Perfect Gluten-Free Pizza
Ingredients
For The Pizza Dough
- 600 Grams Caputo Fiorglut Flour
- 420 Grams Water - 100-110° Fahrenheit
- 25 Grams Extra Virgin Olive Oil
- 17 Grams Salt
- 3.5 Grams Instant Yeast - Equal to ½ Packet
- 2.5 Grams Baking Soda - Equal to ½ Teaspoon
- ½ Cup Rice Flour - (for rolling out the dough)
Extras For Toppings
- Pizza Sauce, Mozzarella, Tomatoes, Basil and extra olive oil…or whatever you like best on your pizza!
Instructions
- Mix together the dry ingredients (flour, yeast, salt, and baking soda).
- Add in the water and mix in the mixer with the paddle attachment until it’s all incorporated.
- Then add the oil and mix for a minute or two. Scrape down the sides of the bowl and mix again at a medium speed for another 5 minutes or so. Everything should be smooth and nicely combined.
- Scrape the dough out onto a piece of parchment paper and form into a big ball. Cut into 6 even pieces, roughly 175 grams each.
- Roll them into balls, then flatten them slightly into evenly shaped discs. Wrap loosely in plastic wrap. Make a tent on the top so the plastic wrap is not touching the dough. This will help when the dough is rising and so it doesn't stick to the top of the plastic wrap.
- Let these proof on the counter at room temperature for a minimum of 3 hours. *You can also rest these overnight in the refrigerator, but you will need to bring them to room temperature before rolling them out.
- Sprinkle a layer of rice flour on parchment paper. Lay out the rested dough on parchment paper or another type of peel. Sprinkle the dough with a little more rice flour.
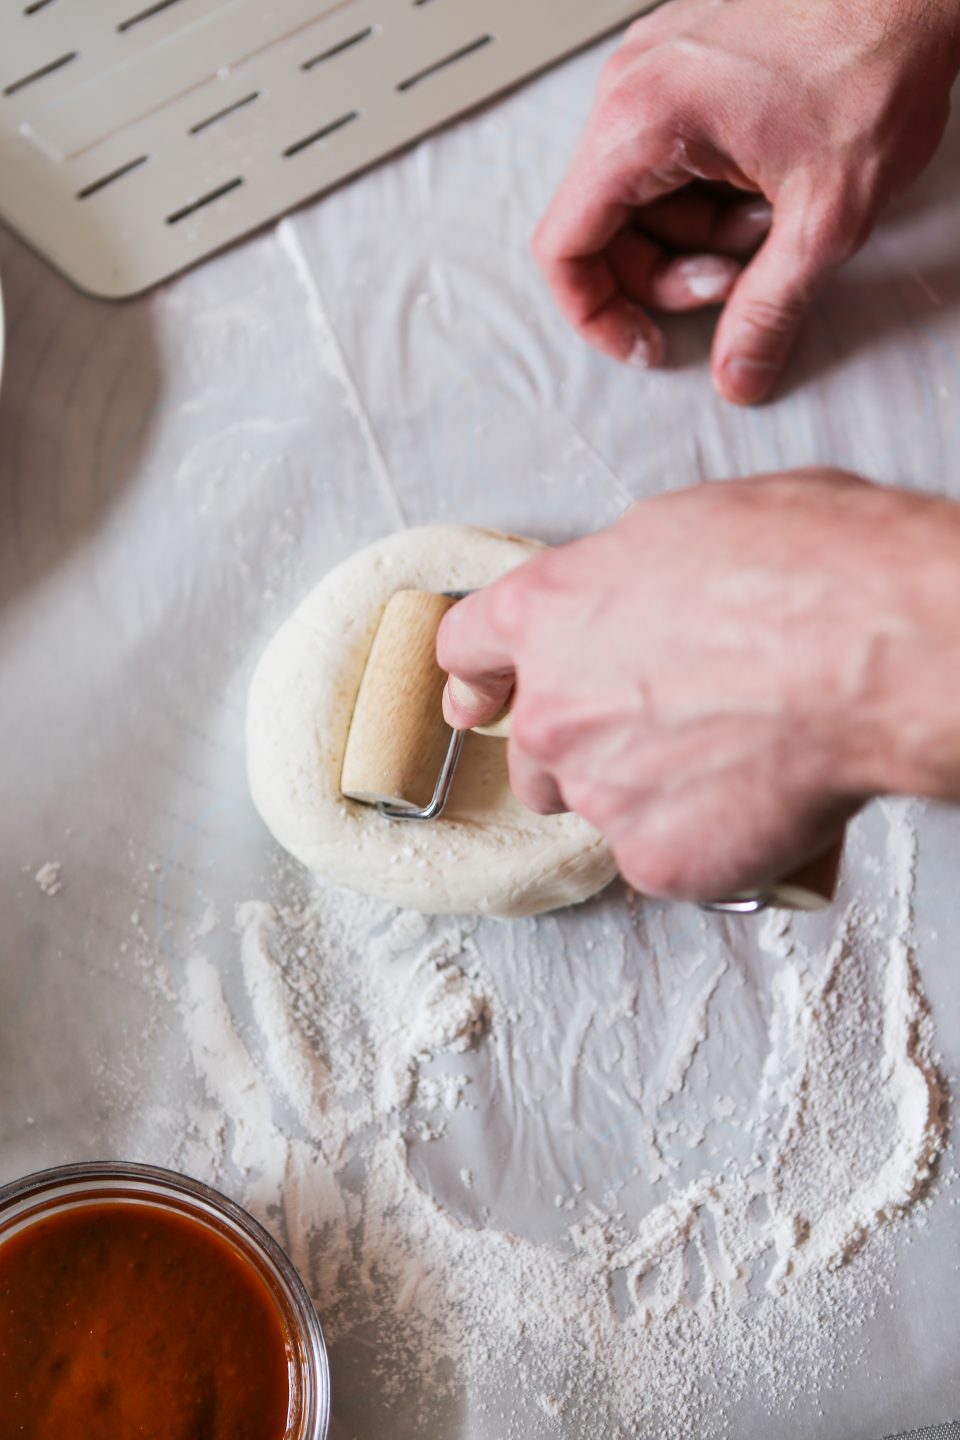
- Use a pastry/pizza roller to roll it out starting in the center and moving outward leaving just a little lip on the outside. You are looking for to about a 10” circumference. Be careful to not stretch the crust too much so you don't make any holes. And make sure there is enough rice flour underneath the dough so that you can move it on to the peel before you add the toppings. Otherwise you’ll get the toppings on and then your dough will be stuck to the peel.
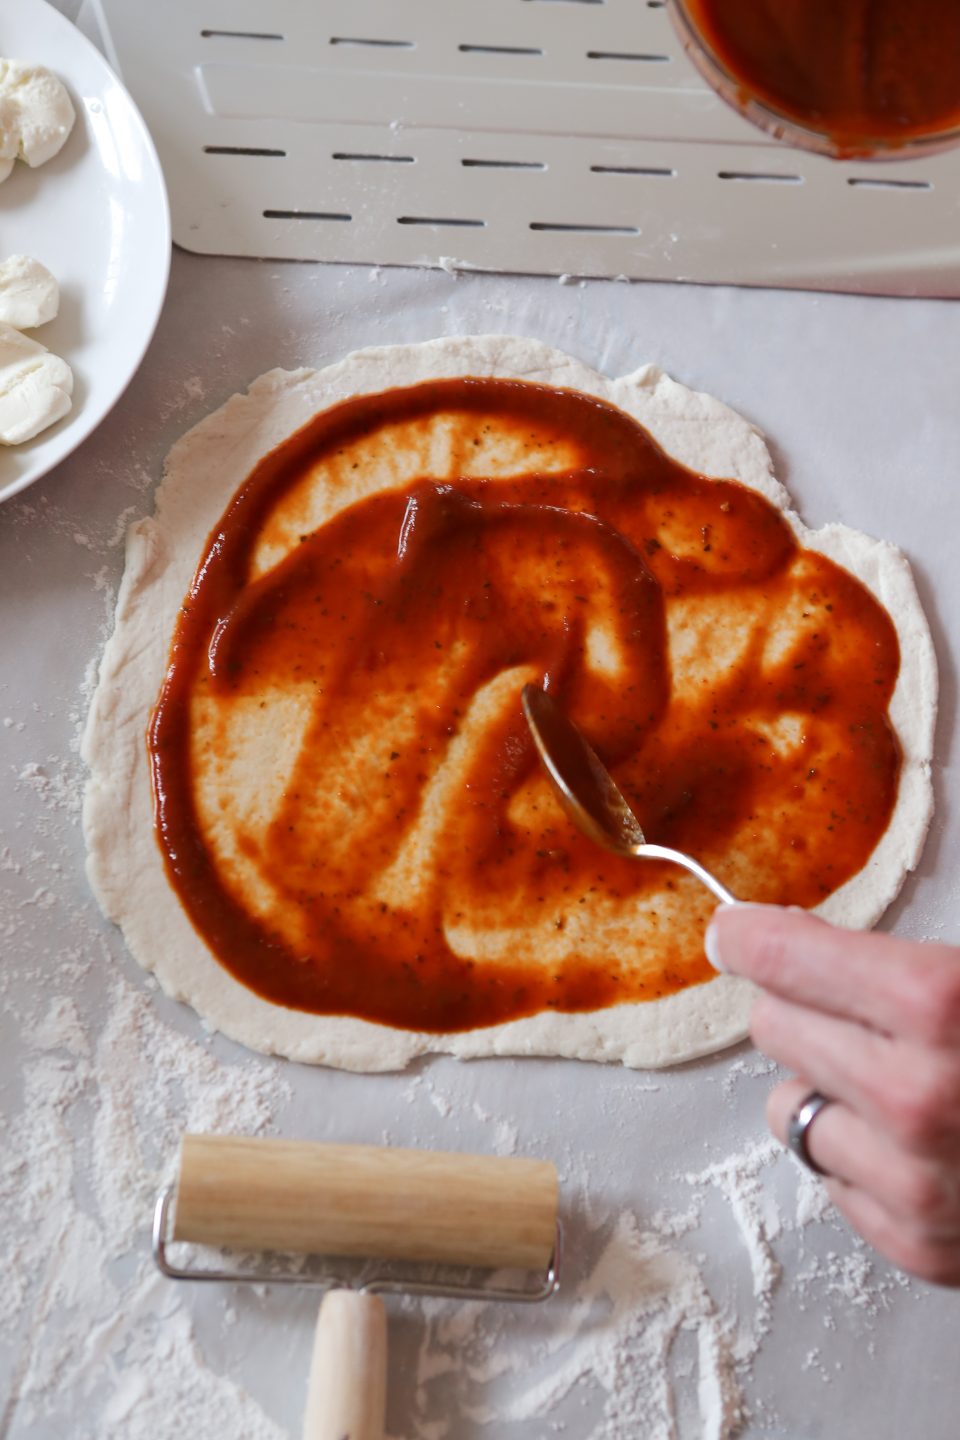
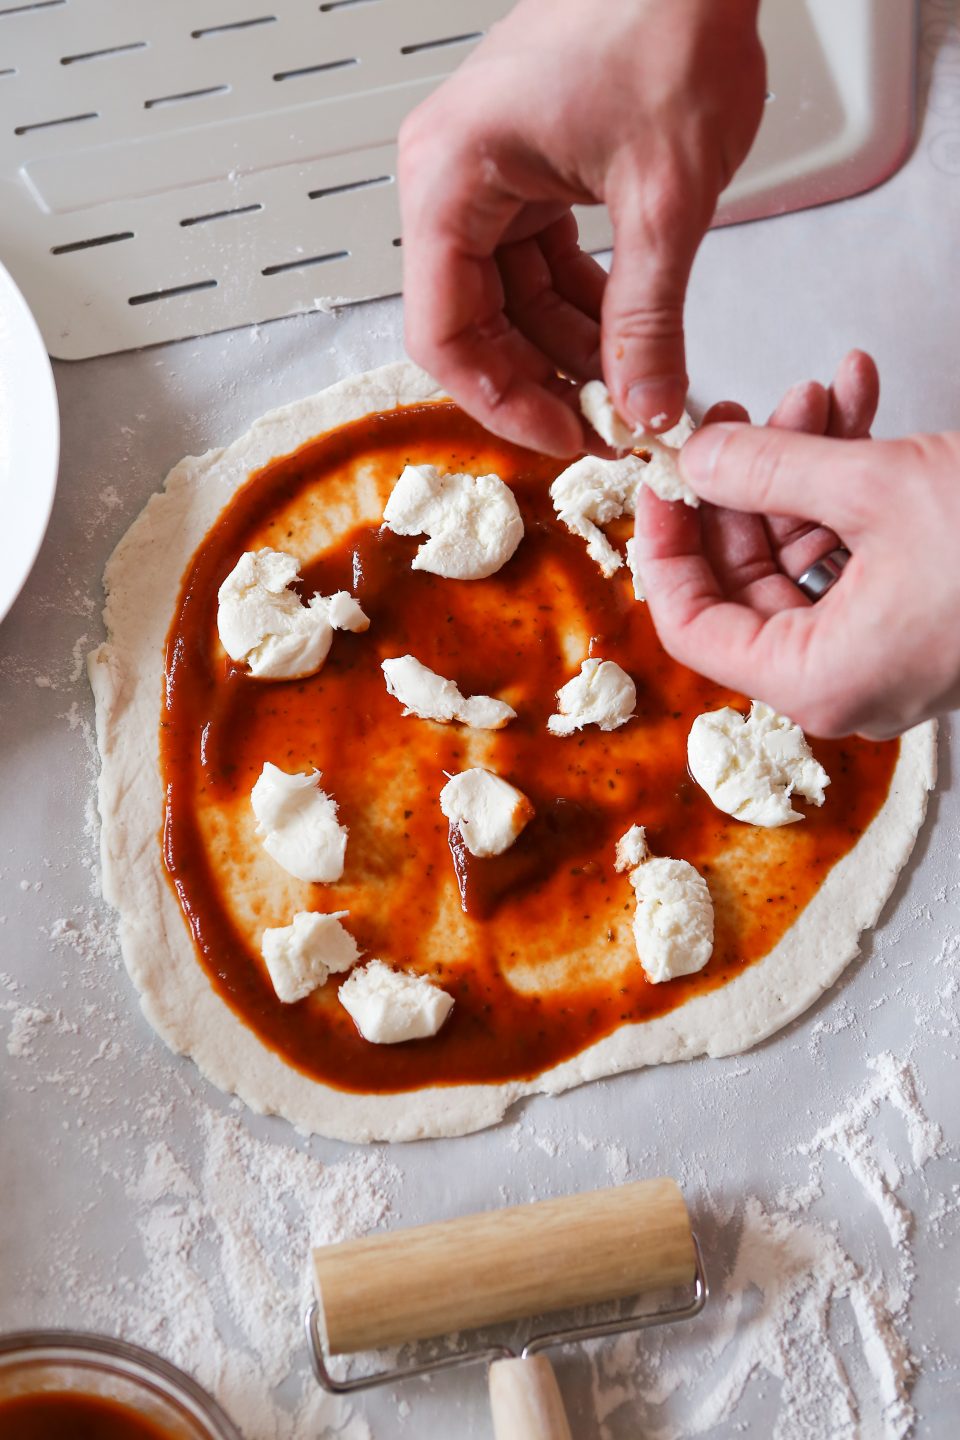
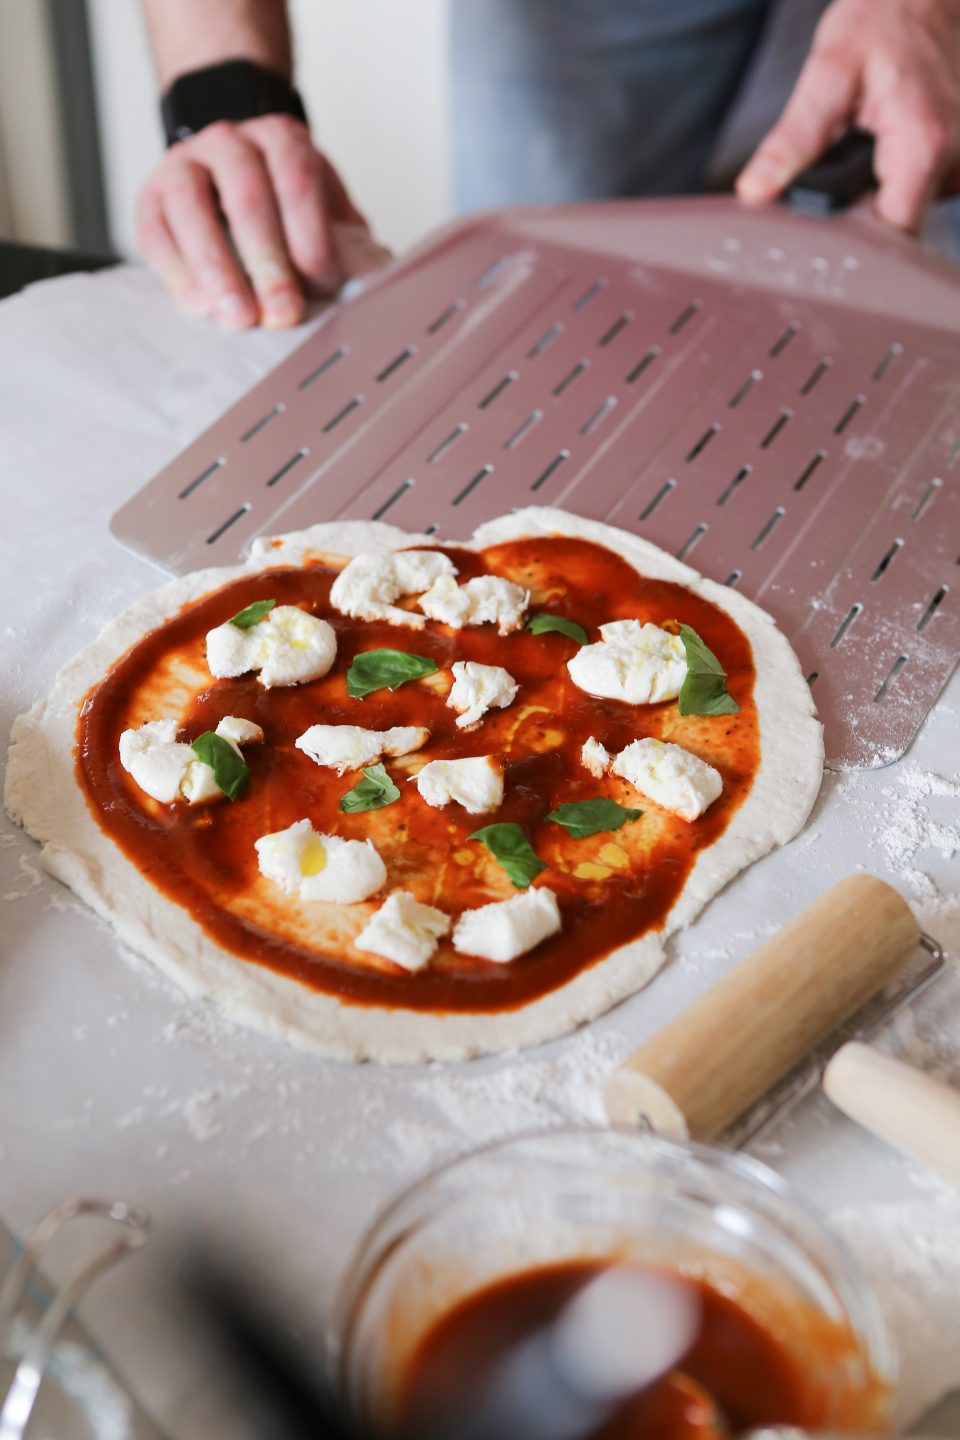
- Layer on your toppings starting with a couple tablespoons of pizza sauce and then your favorites: tomatoes, basil, fresh mozzarella are a great place to start. Drizzle a little olive oil on before putting it in the oven.
- Carefully slide your pizza from your prep surface onto a pizza peel or pizza pan.
Ooni Pizza Oven Directions
- Get the temperature to just about as hot as it goes (which takes around 20-25 minutes). I think it’s like 800° or so. We use one of these thermometers to continually check the temperature.
- Slide the pizza off of the pizza peel directly onto the hot surface. Cook it for 45 seconds, rotate it 180 degrees, cook for another 45 seconds, rotate it 90 degrees and just keep rotating it until it looks to you like it’s done. It will be bubbly on top with some “burn” marks on the outside and underneath, just like a wood fired oven.
- Wait about 5 minutes between each pizza to let the oven get back up to temperature.
Conventional Oven Directions
- Preheat the oven to 475° Fahrenheit. If you have a pizza stone, make sure this is in your oven so it can preheat. *If you don't have one, that's OK, just cook your pizza on a regular pizza pan (but there is no need to preheat the pan).
- After the pizza dough is prepared, transfer it to a pizza peel or a pizza pan. Place in the oven.
- Bake the pizza for the 12-14 minutes until the cheese is bubbly and golden brown.
If you’re looking for a great drink to serve this with perfect gluten-free pizza, I recommend a Chianti Classico or an Aperol Spritz!
And, remember to PIN this recipe for perfect gluten-free pizza so you have it saved for later.

If you’re looking for some more recipes using the Caputo Fiorglut flour, here are some others that I know you’ll love!


I’ve been to Ciro and sons in 2018 as well!! Ate there twice because it was the best gf pizza I’ve ever had. I’m going to try this recipe tomorrow!
Hi I have made the Caputo pizza in the oven on a cast iron pan with good results. The Ooni is tempting to buy but I am worried about transferring my pizza into the oven as usually my GF dough is wetter. Do you have trouble doing this? Thanks for any suggestions!
Hi Nancy, my apologies for the delay in responding…valid concern! We use a hefty amount of rice flour on the bottom of our pizza dough when rolling it out. Then we transfer it to the Ooni non-stick pizza peel we bought. And then the trick is to make sure the pizza stone in the Ooni is up to temperature. If it’s not hot enough the dough will stick and you’ll have a mess. And the only way to get rid of that is to burn it off. The dough is definitely delicate but we rarely have problems getting in in/off the pizza oven! Hope that helps a little!
I too have found that Caputo is the best flour for pizza. I have had even better results leaving it rise overnight in the fridge. The starches seem to hydrate even better. Relating in a more elastic dough. Works well for a thicker crust, too. Keep the recipes coming.
Yes! Letting it sit overnight really gets the yeast working and adds even more flavor!
THANK YOU KARI. I ACTUALLY WENT TO AN ITALIAN MARKET IN EDMONTON AND FOUND IT FOR ABOUT 10.50 FOR THE 2.2 BAG – MADE MY DAY!! I GRABBED 2 BAGS AS WE LIVE 2HRS AWAY. SO EXCITED FOR PIZZA THIS WEEKEND!!
Oh wonderful to hear!! I hope your pizza turned out delicious!
How do you use the Ooni and avoid cross contamination. Have you done the gluten free pizza on a pan or cooked it first ? There is only one gluten free in our house so we would be making both regular and gluten free
Hi, Traci!! We have only used our Ooni for gluten-free, so we don’t have any risk of cross-contamination there. The pizza does work in the oven on a pan so you could always do that for the GF eater. Unfortunately, I do think think it would be near impossible to use the Ooni for both regular and GF pizza – the risk of cross-contamination is just too high because it’s hard to clean thoroughly. I hope that the oven method will work for you (using a dedicated GF pan, of course)!
So, does it make 6 10 inch pizzas? Do you just freeze the other dough balls for later?
Good question!! Actually, we usually make and eat them all at one time. 😉 The crust on these pizzas is very thin (but it’s not crunchy and crispy like most thin crust pizza) and they are really easy to scarf down! And then this way each person can customize their own pizza! I have not tried to freeze the dough balls, but I do think that you could make the dough, shape into individual discs like we do in the recipe, and then freeze them. Then when ready to use them, cover in plastic wrap and let them to fully thaw and rise for an hour on the counter. Hope that helps!
Another good idea is to take one of the plain crusts, drizzle it with olive oil and then sprinkle with some dried rosemary and sea salt. Then bake like you would the pizza. Delicious focaccia!
Thanks for your suggestions! I actually ended up letting the dough balls do the rise, and then rolling out the dough and putting sauce and cheese and the other topping on it, and then I am going to freeze them like that. Then, it will be like a frozen pizza all ready to put in the oven. I’ll let you know how it turns out!
Also, this pizza is so good!!!! Even my husband who is in gluten-free and usually isn’t a huge fan of free things kept eating bites ha ha thank you!!!!
Now that is an excellent idea!! Thanks for sharing that with me and keep me updated. I agree – it’s hard to tell this pizza is GF!!
Hey!! Sorry it took me forever to reply and let you know. The frozen pizzas cooked are SO GOOD!! I’m the only GF one in our family, so I will totally now just make the recipe and freeze the pizzas, so that I have multiple ready to cool pizzas in the freezer!!
Oh great to hear!!! Thanks for sharing that!! I’m glad you have a delicious option now…all for yourself!
You could also roll out and par bake before freezing. We are able to buy par baked gluten free pizza crusts from a local supplier that come frozen. Unfortunately they were out of stock of flour so next best thing. You just thaw for 1/2 hour, top and the finish off in the Ooni or oven.
Thanks for the additional tip, Rob!
Hi Kari. I just bought a ooni pizza oven today, and am trying to find the GF flour Fiorglut here in Alberta. The cost on Amazon.ca is 32.49 for 2.2 lbs. Is this approximately what you usually expect to pay for it? Gluten free can be costly, but if its delicious I dont mind spending the extra. Thank you – I am excited to try your recipe.
Hi Shelley! It looks like the Caputo would cost me about $15 for the 2.2 lb bag through Amazon. So it does looks like quite a difference. 🙁 Another suggestion I might have is to contact a local Italian market or restaurant and see if they are able to order it from their distributor for you. Not sure how the cost might be going that route, but it’s another option. It’s really a great flour and makes all the difference. If you have any more questions once you start cooking pizzas, let me know!