I know, I know, this should have been a recipe for the beginning of summer! But these easy refrigerator pickles can really be made any time of year.
I had a crazy cucumber plant in my garden and it produced so much fruit that I needed to find something to do with them all!! Seriously, I bought one tiny plant at Home Depot, I barely watered it, and it took over my garden. Then it decided to take over my neighbor’s garden, too! I probably got about 50 or 60 huge cucumbers.
Some people talk about using special pickling cucumbers to make pickles. Rubbish. Totally not necessary! I can attest to that because I made A LOT of pickles this summer.
My grandma used to make bread and butter pickles and I despised them. Now that my tastebuds have grown up a bit, I can eat them here and there or on a specific dish, like with BBQ pork, but they still aren’t my favorite. I wouldn’t just sit down and snack on a jar of bread and butter pickles. Dill pickles on the other hand…dig in! These are probably even better than the majority that you can find on the shelves at the grocery store (because they are REFRIGERATOR pickles!) If you love crunchy, crisp, tangy cucumbers then I ask you to try these out!
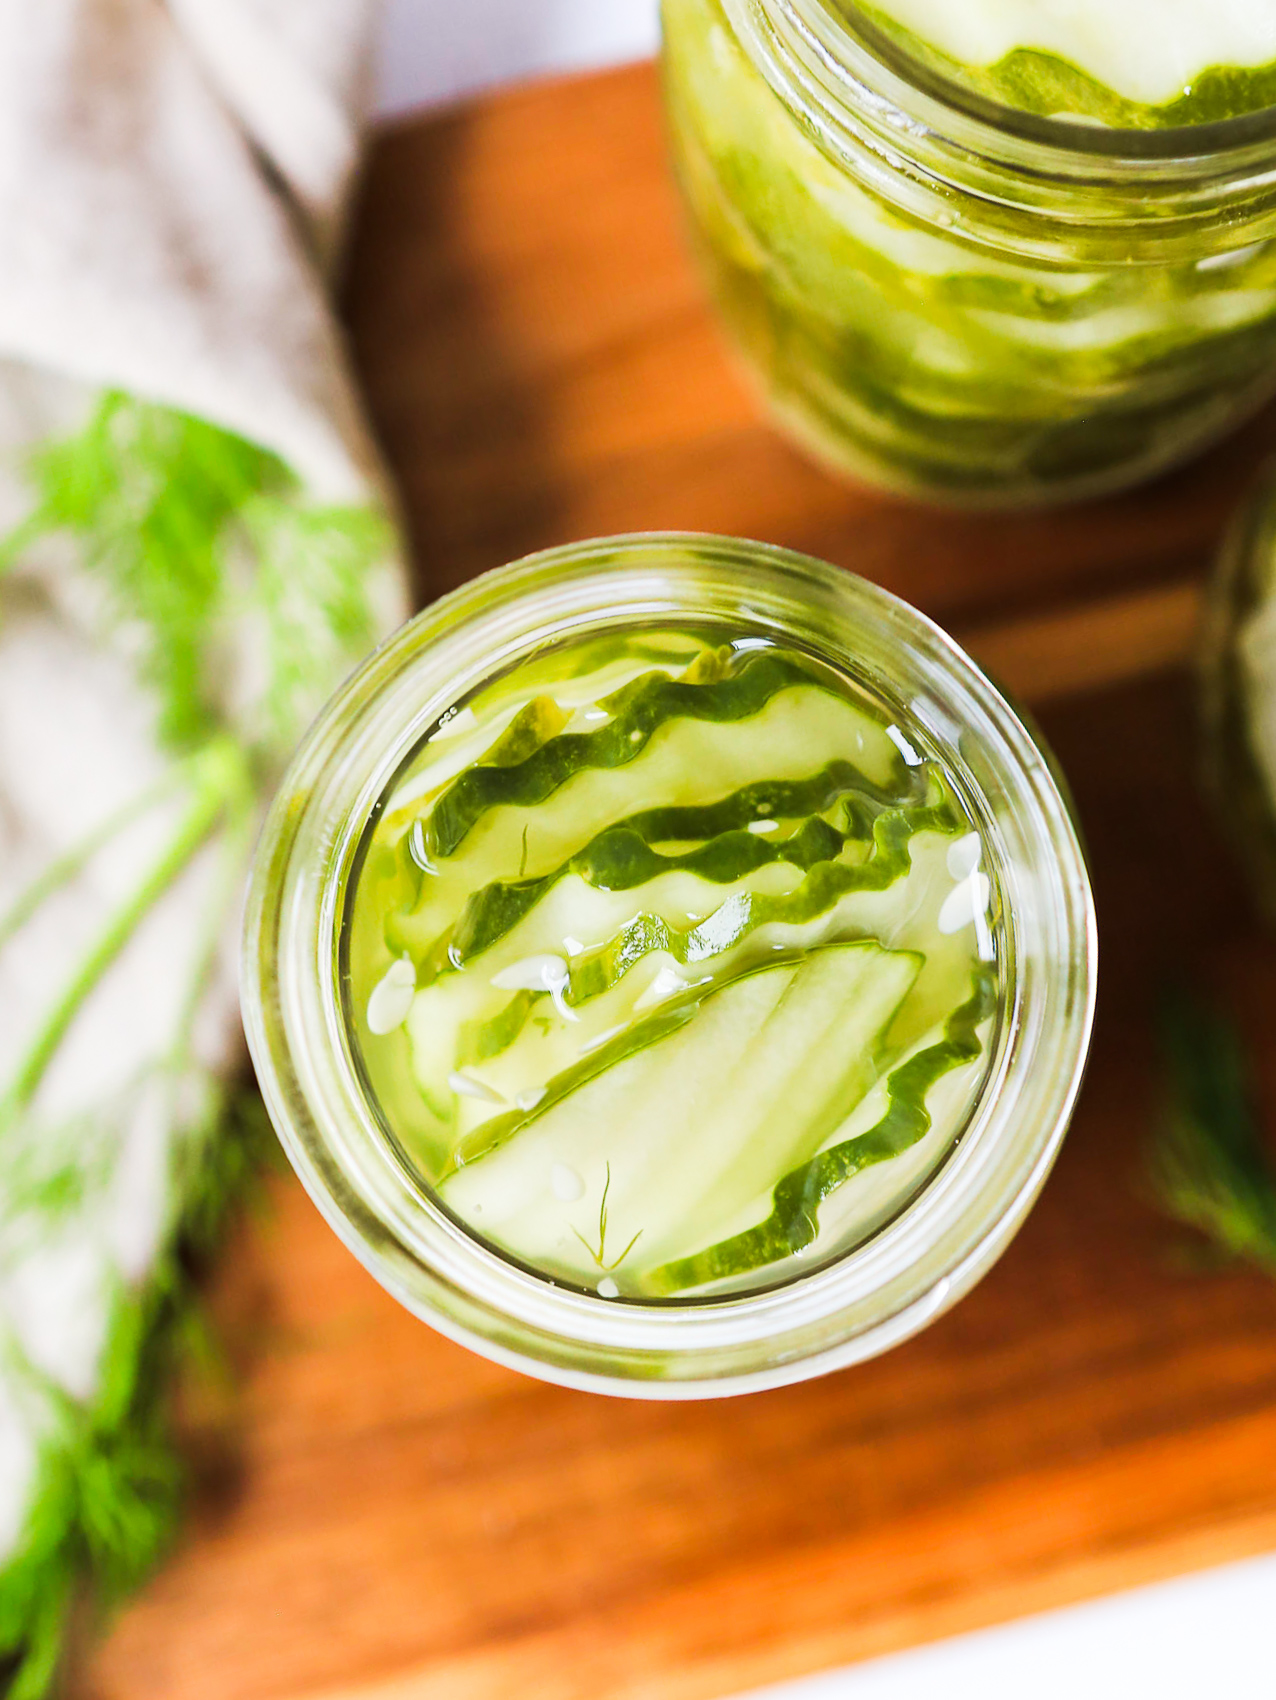
The longest parts in this “pickling” process are a.) letting the brine come to room temperature before adding to the cucumbers/dill/garlic, and b.) allowing the pickles sit in the fridge for a week to let the vinegar mixture ferment and get them good and crispy!
Ok, so why do you have to let the brine cool before adding it to the cucumbers? If you add the near boiling liquid to the cucumbers it will start to cook them and that will make soggy pickles. Nobody wants that. You can always set your hot pot in an ice bath to help it cool off quickly if you’re impatient.
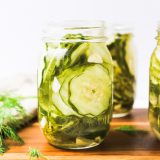
The easiest thing to do is to cut the cucumbers into spears. You can also make them into the dill pickle chips (great for burgers) by using a mandolin or a hand-held crinkle cutter like this one. Please, please, please be extremely careful if using a mandolin. Mandolins are so dangerous! I know this because I was being dumb and cut my finger pretty good making a batch of these pickles. I almost thought I needed stitches, but it healed up pretty well! They do make special gloves that will help protect your fingers. Just please be careful!
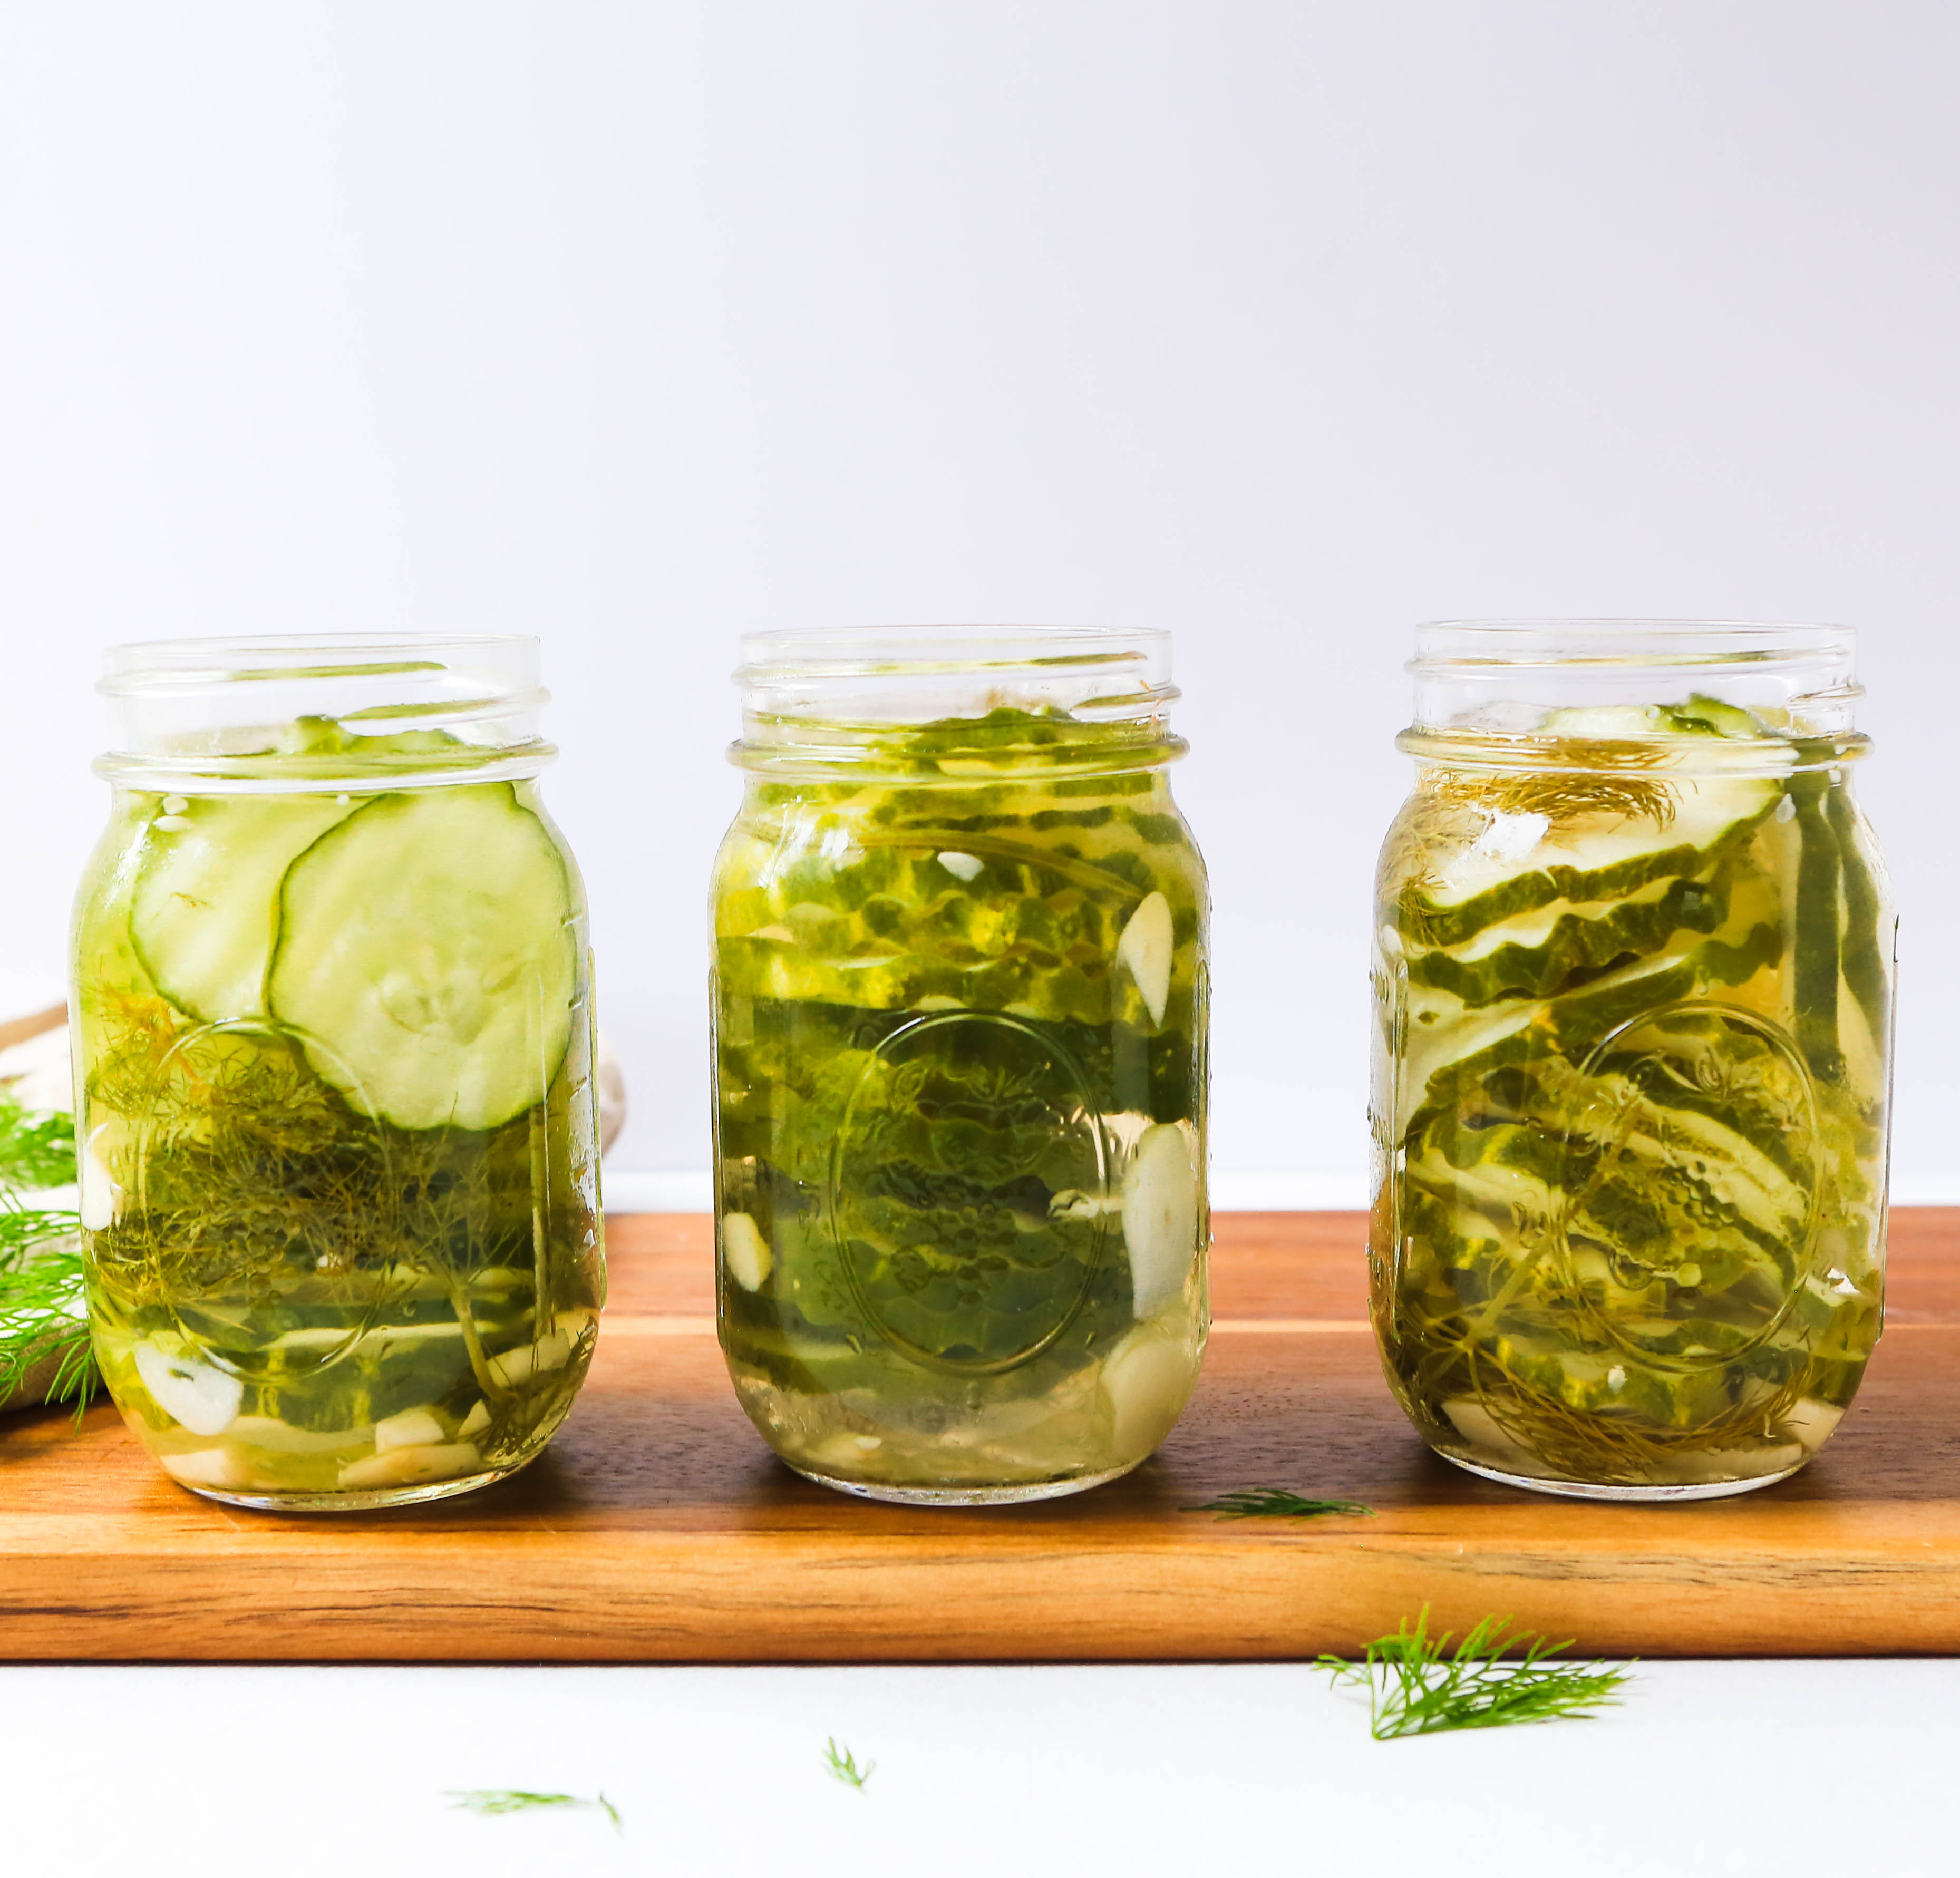
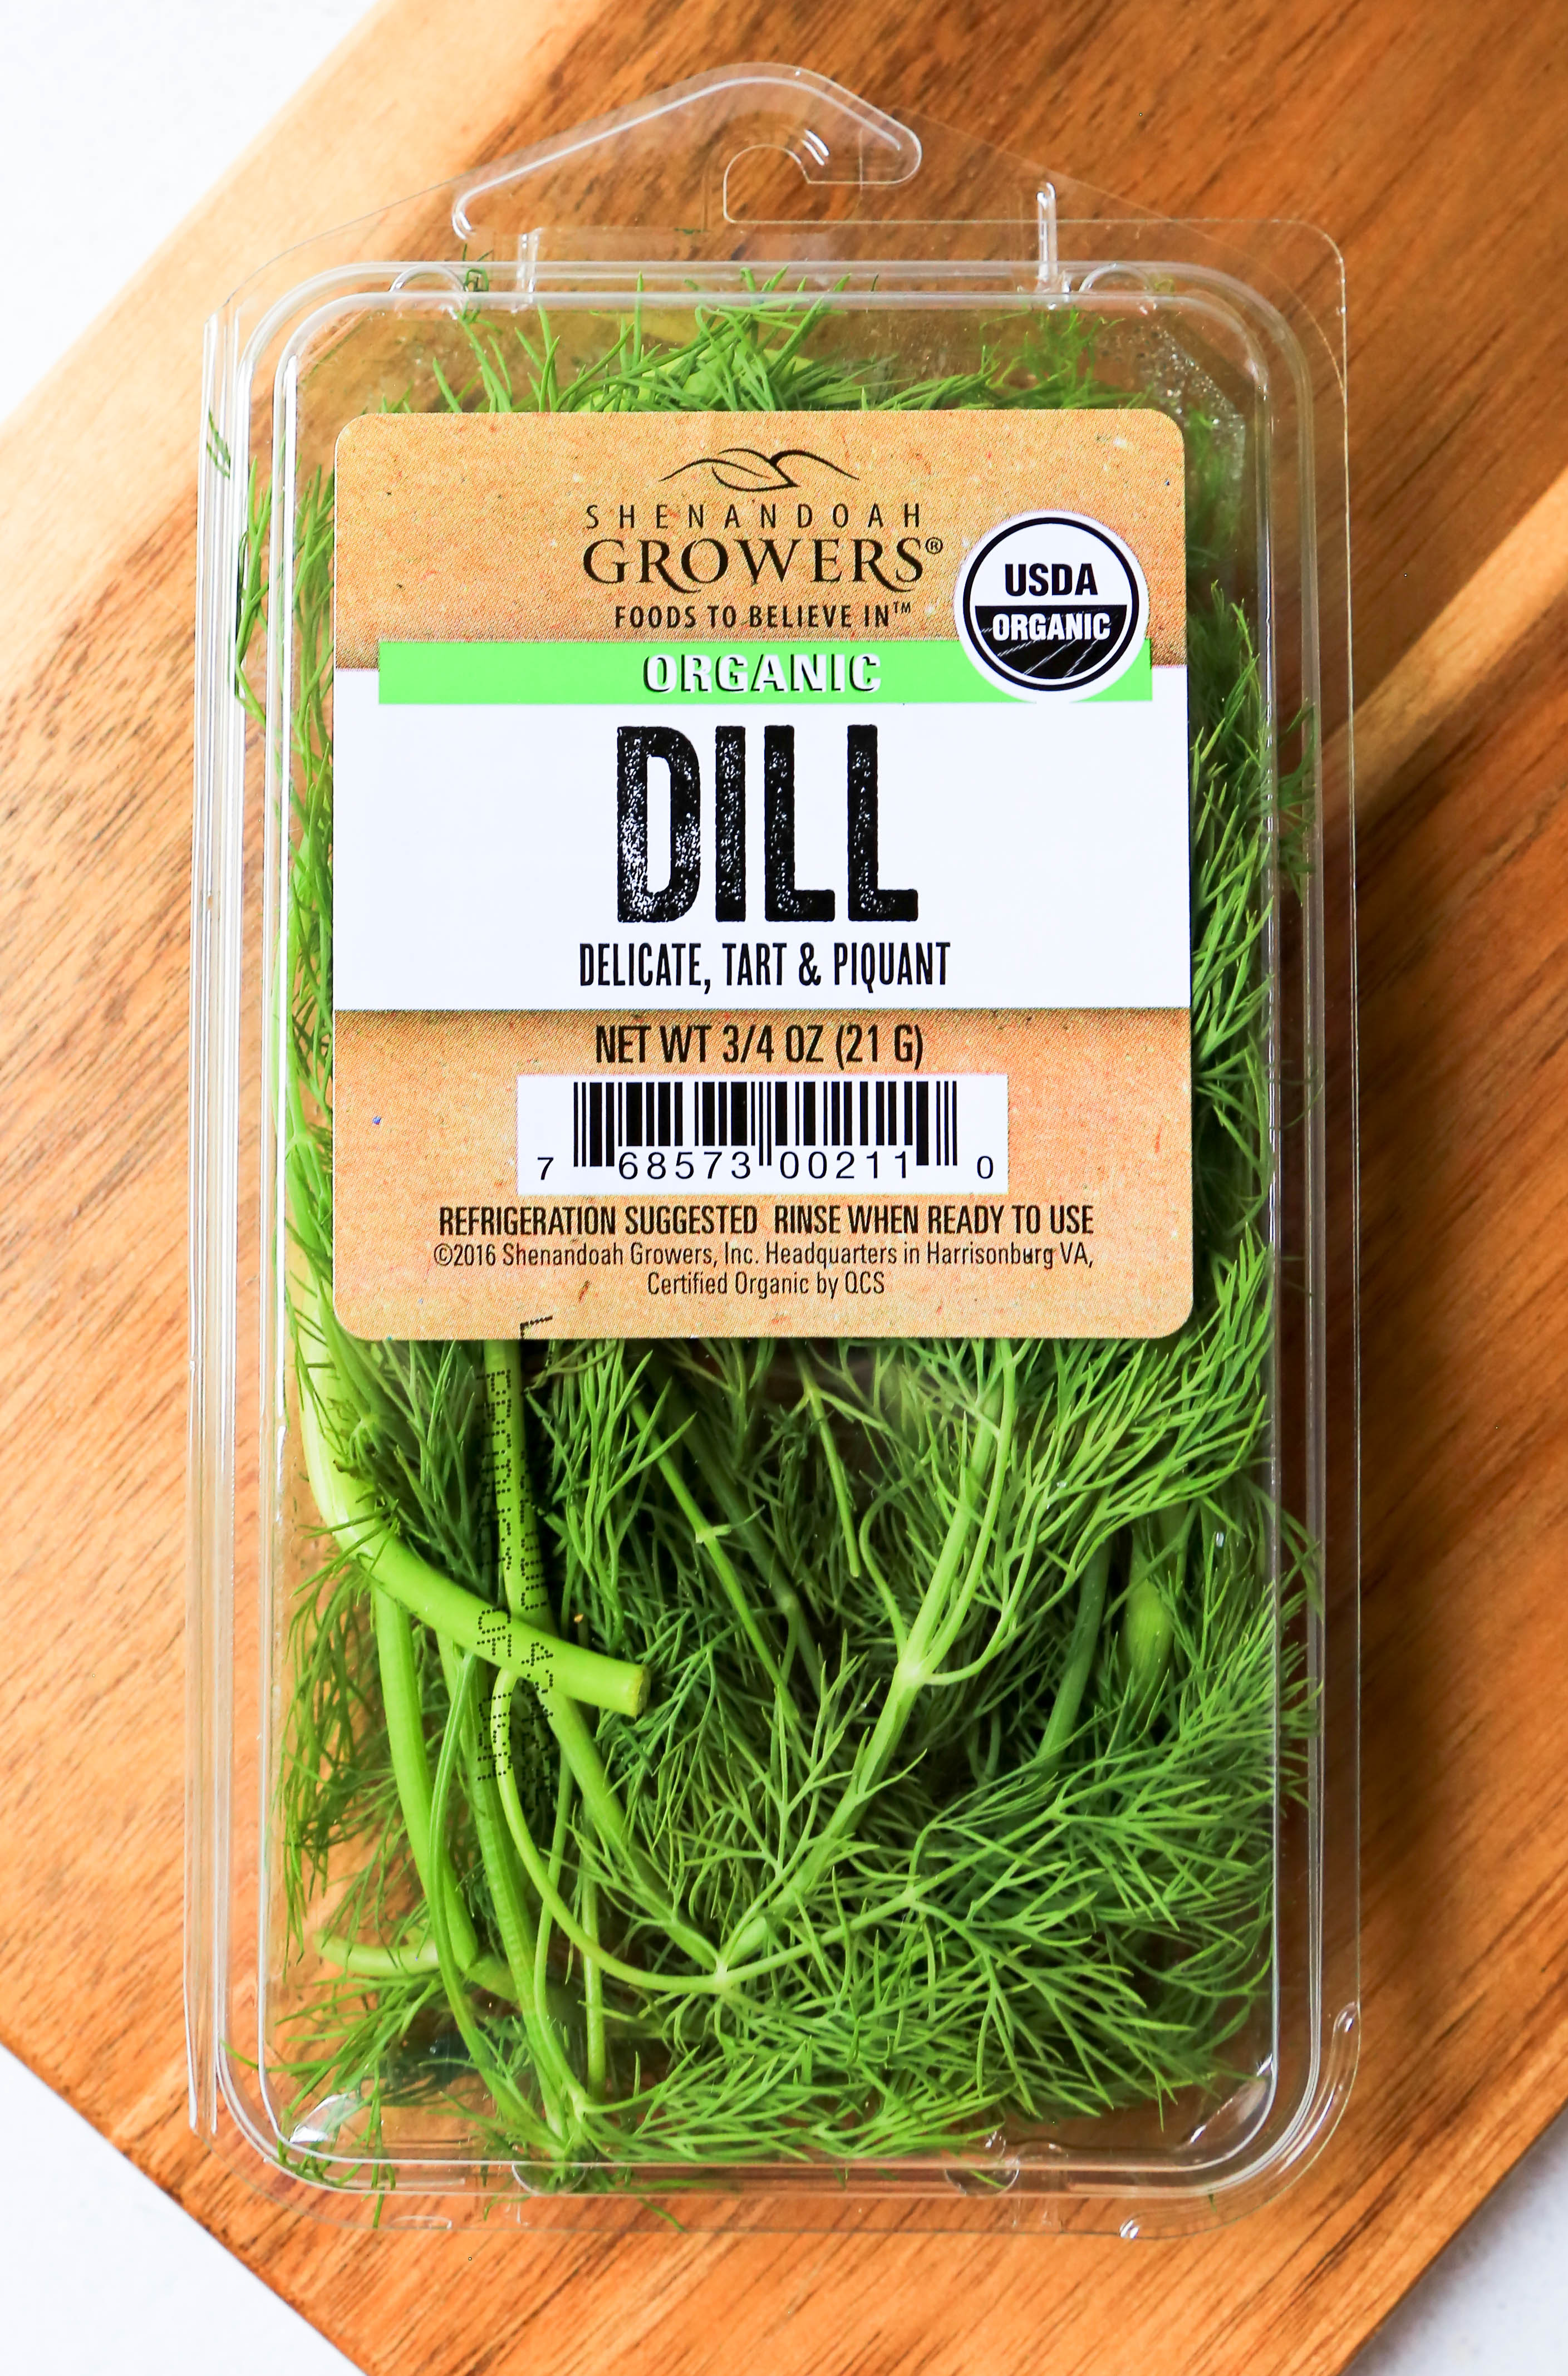
As mentioned in the recipe, you can adjust the spiciness by adding more or less garlic. I personally think the simple garlic and dill is enough flavor for this recipe and it doesn’t need any other ingredients. Also, I’ve found that you don’t even need to buy a large bunch of dill that you may not get much use out of. You can just buy a small prepackaged amount of the stuff. I usually use the whole container for these 5-6 jars.
You can buy these pint mason jars at most stores like Target or at grocery stores and Menard’s actually has large selection of canning supplies.
I think I just might have to try to make these into battered “deep fried” pickles in our air fryer. Ranch dipping sauce included! Stay tuned!!!
Easy Garlic Dill Fridge Pickles
Ingredients
- 4-6 Medium Cucumbers - any size will work!
- 4 Cups Distilled White Vinegar
- 2 Cups Water
- 2 Tbsp Kosher Salt
- 1 tsp Granulated sugar
- 3-6 Cloves Garlic
- 1 Bunch Fresh Dill
Instructions
- Add the distilled vinegar, water, kosher salt, and sugar to a large pot on the stove.
- Heat until the kosher salt and sugar is dissolved.
- Turn off heat and let this brine sit until it comes to room temperature.
- While the brine is cooling, slice garlic cloves and add to bottom of mason jars. If you like spicy pickles, I'd suggest one whole clove per jar. If you like the garlic flavor but not the spice, then add just ½ clove to each jar.
- Also add a few "stalks" of dill to each jar.
- Then cut your cucumbers and place in jars. You can pack the cucumbers semi-full in the jars because when you pour the brine in that will fill the spaces and make the cucumbers "float" a little.
- Pour the brine over the cucumbers in each jar making sure to completely cover all the cucumbers!
- Cover and place in refrigerator for one week before eating. These will stay good in the fridge for 6-8 weeks!
You can PIN this blog post by clicking on the image below:

Leave a Reply