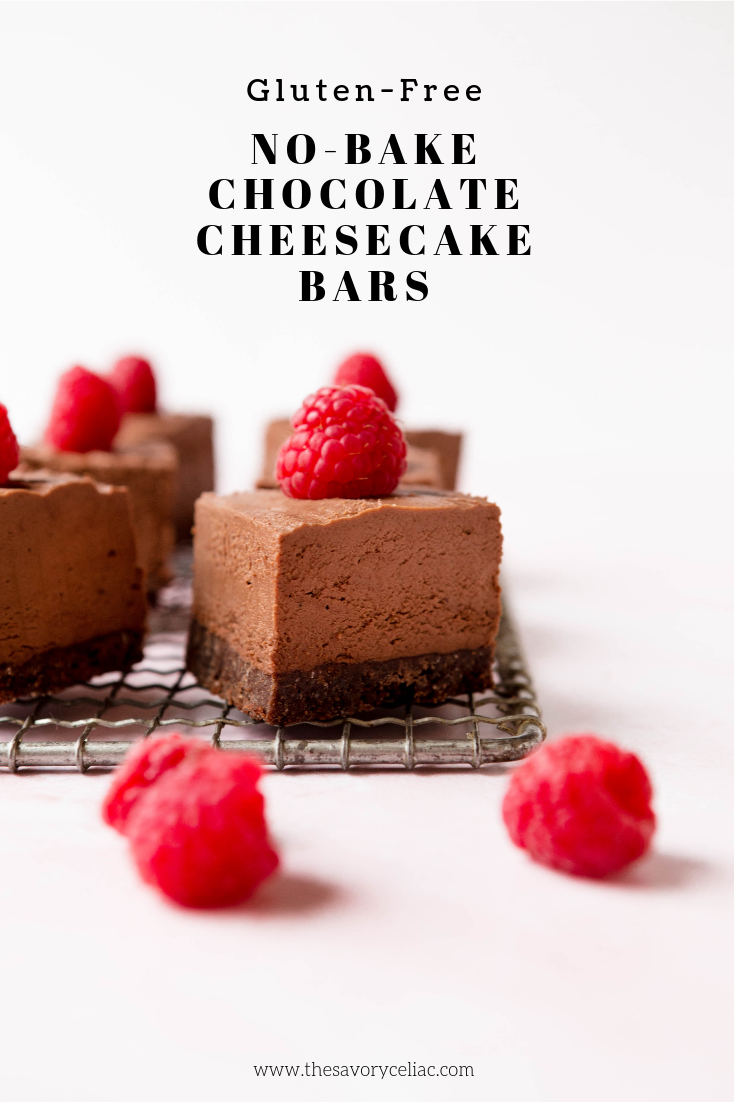
I recently brought these super easy no-bake chocolate cheesecake bars to a gathering and I was told they were “definitely blog-worthy”. And they’re so easy it’s worth sharing this awesome dessert recipe with you all!
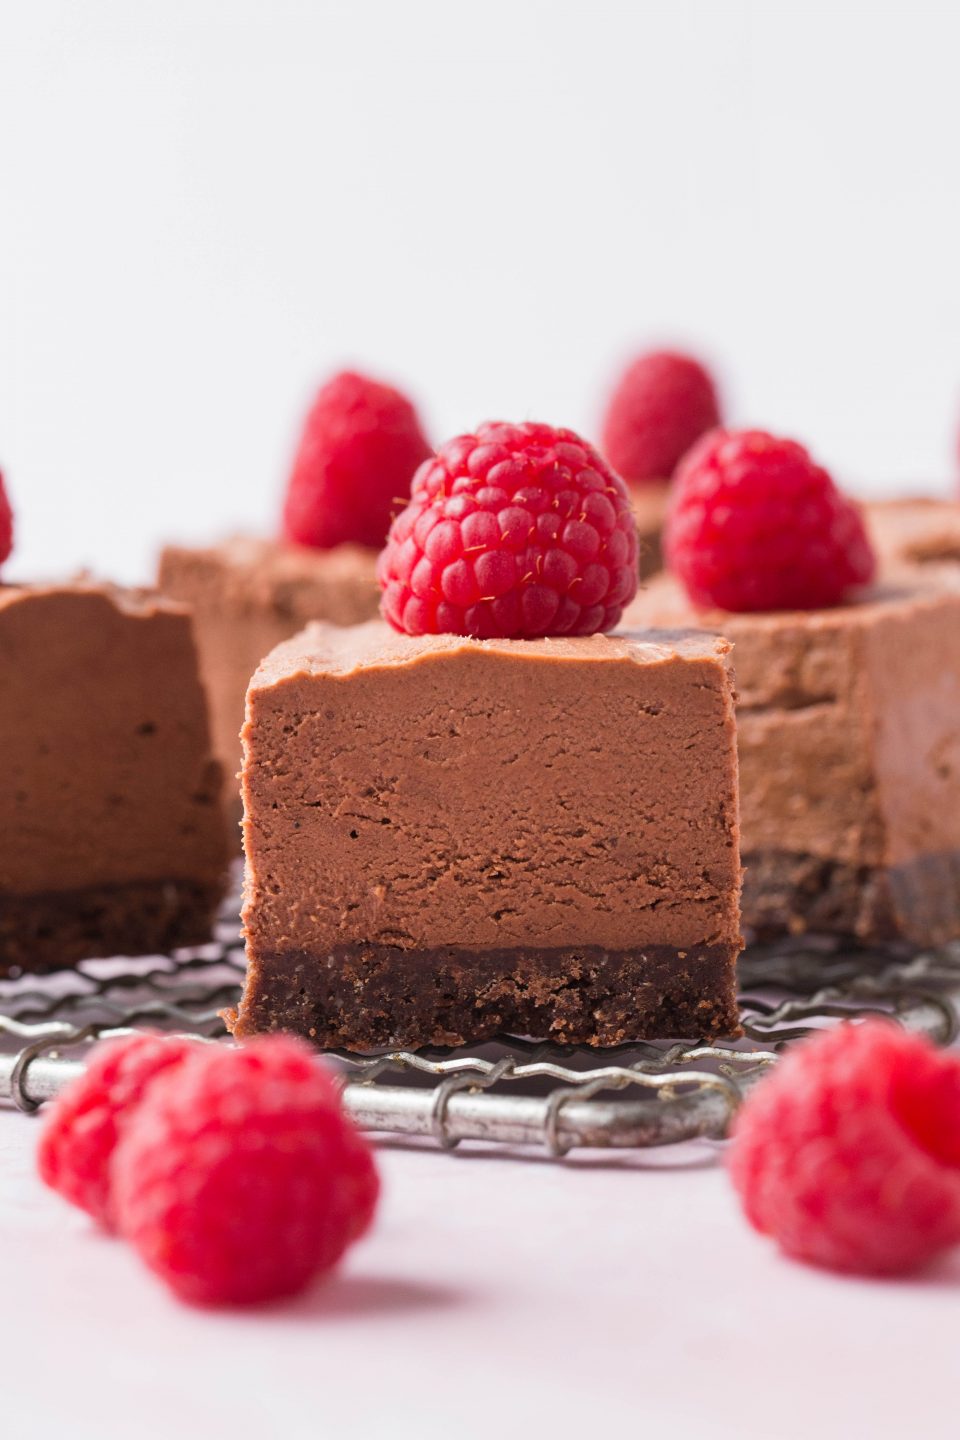
You can’t get easier than a no-bake cheesecake. And chocolate cheesecake at that! The crust is the only part that needs to be baked…and even that is just graham crackers and butter. Baking it helps to form a solid base, but you can do that and let it cool while you’re making the delicious chocolate cheesecake topping.
I think making these in a 9×13 baking dish gives the perfect ratio of crust to cheesecake. These are very rich, so serving these as mini bars is ideal. I’ll post the recipe here and then I’ll explain below a little bit more on how to make these!
No-Bake Chocolate Cheesecake Bars (Gluten-Free)
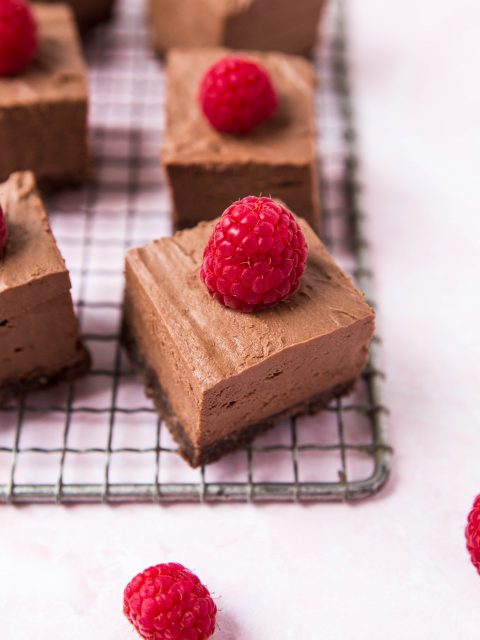
These (gluten-free) no-bake chocolate cheesecake bars are so easy to make. Take these to your next gathering and you’ll be the hit of the party!
Filling
- 12 Ounces (1 ½ blocks) Cream Cheese (Softened)
- 1/2 Cup Granulated sugar
- 1 ½ Cups Semi-Sweet Chocolate Chips
- 1/4 Cup (½ stick) Butter, Softened (Softened)
- 2 Cups Whipped Cream (You can use Cool Whip or make your own (my preferred method – instructions below))
Crust
- 1 Box Gluten-Free Chocolate Graham Crackers
- 6 Tablespoons Butter (Melted)
For The Crust
- Make a parchment paper sling for your baking pan. Cut a piece of paper about 13 inches wide (wide enough to cover the bottom of the pan the long way) with enough to fit over the edges. You’ll basically lay the parchment paper on the bottom of the pan so that the paper comes up and over the edges of the pan. This will easily allow you to life the finished bars out of the pan before you cut them. It is easier to cut them when they’re not in the pan.
- Crush up an entire box of chocolate graham crackers. You can either place them in a Ziplock bag and crush them with a rolling pin or something heavy like a meat tenderizer. The Pamela’s brand were too hard to crush up using that method, so I put them into my Blendtec (or you can use a food processor). I processed them until they were very fine, almost like a coarse flour consistency.
- Mix the crushed up graham crackers with six tablespoons of melted butter. Layer in the bottom of your parchment paper lined baking dish. Press it down firmly with a spoon or your fingers so that it’s tightly packed.
- Bake at 350 for about 10 minutes. Cool completely.
For The Filling
- If you are making your own whipped cream, beat one cup heavy whipping cream until stiff peaks are formed. Add in ¼ cup powdered sugar and one teaspoon vanilla and beat again until well-combined. This mixture makes two cups of whipped cream. Set aside.
- Place chocolate chips in a microwave-safe bowl. Microwave at one minute increments, stirring after each one, until chocolate chips are fully-melted. You can also use a double-boiler if you prefer. Set aside to let cool a bit.
- Beat cream cheese, sugar, and butter until smooth and creamy.
- Gradually add in melted chocolate chips and beat until everything is combined.
- Fold in whipped cream until blended. Pour this cheesecake mixture over the cooled chocolate graham crust and spread until smooth. Freeze for about an hour.
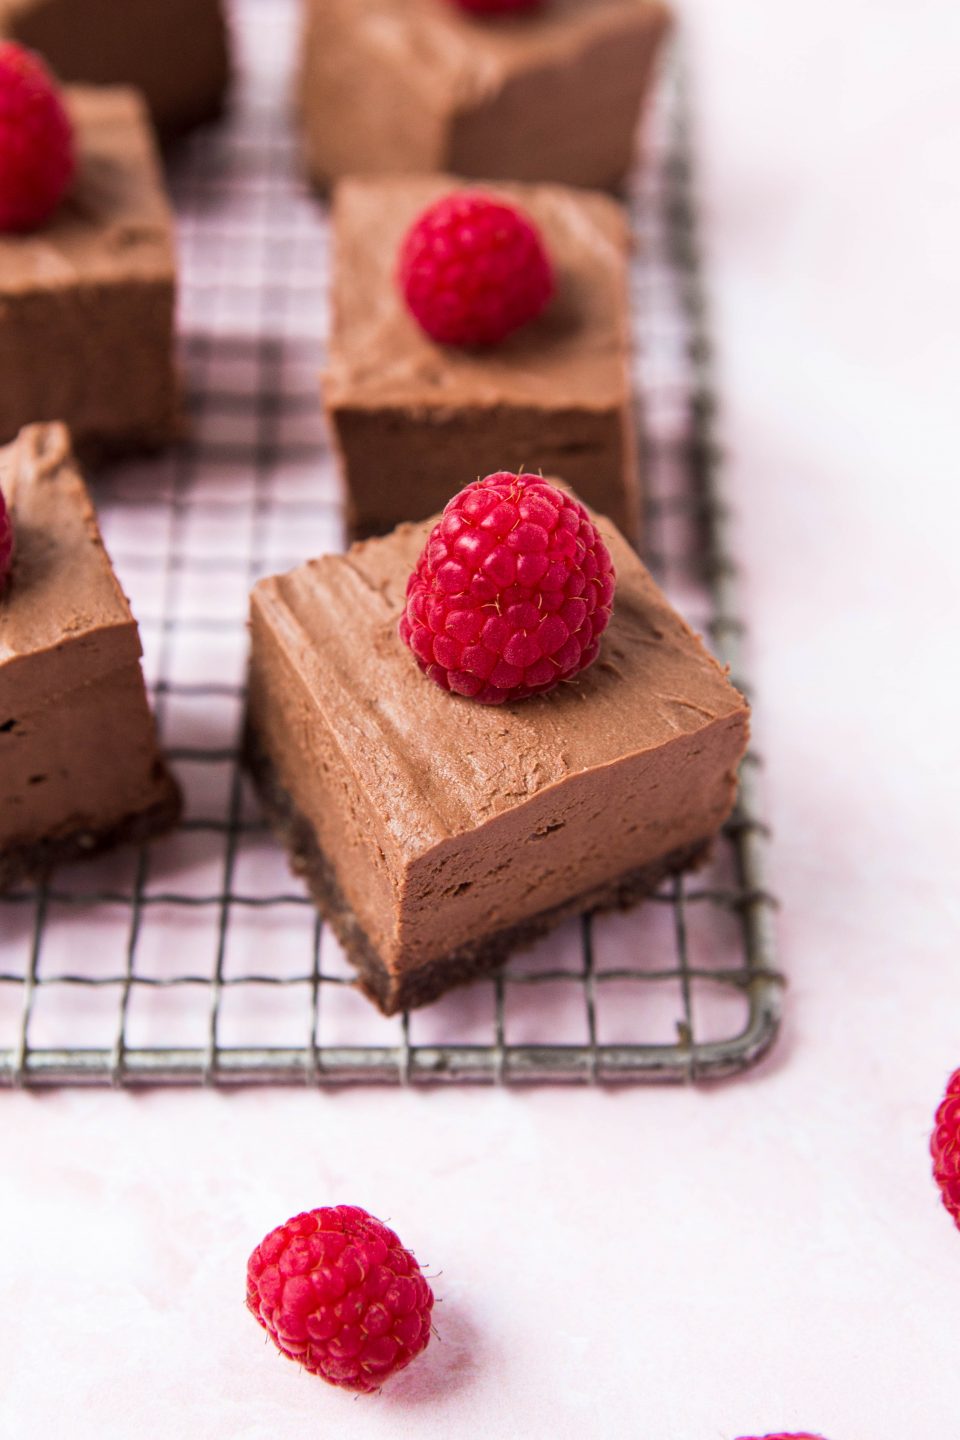
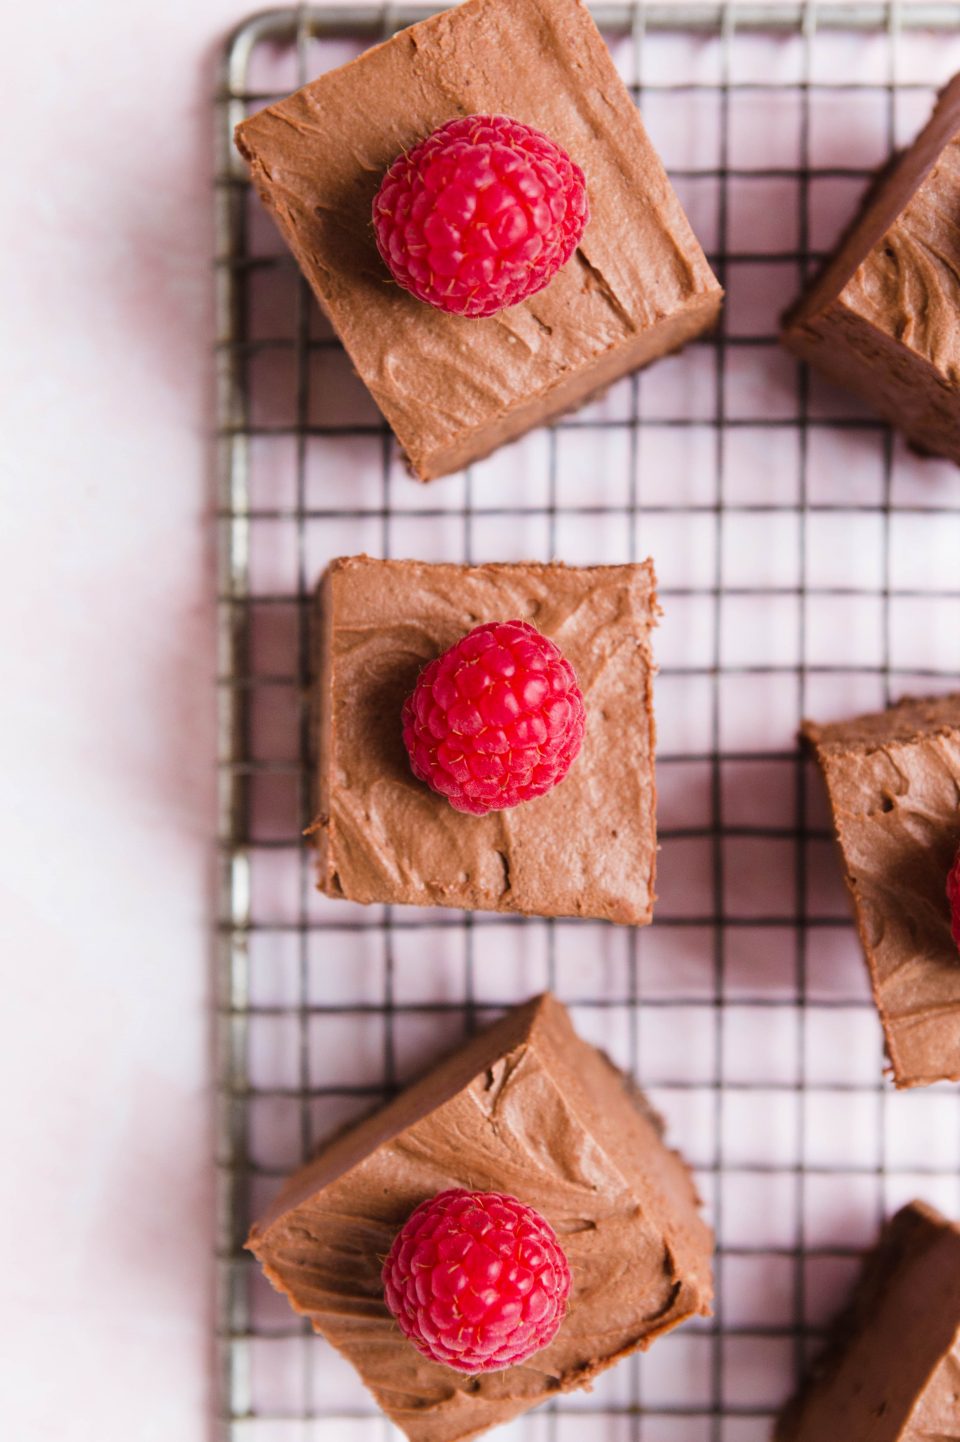
- After cheesecake is firm, remove from the pan by pulling up both edges of the parchment paper sling. Then cut into 1-inch squares. You can garnish with berries, small pieces of graham crackers or a little dollop of whipped cream.
As I mentioned in the recipe, you can make a parchment paper sling for the bottom of the baking dish to help with taking these out before cutting. I also recommend freezing the bars before cutting because the filling is pretty creamy; it will be hard to cut if they’re too soft. Another tip is to cut them with a wet knife.
Crust Options
You’ve probably seen or heard about Pamela’s Graham Crackers. For this recipe I actually used the Pamela’s Chocolate Grahams instead and they really upped the chocolate factor!
I’ve actually seen these at quite a few stores around Minneapolis where I live, so as long as you have access to a typical store with a variety of gluten-free options you should be able to find these. If you can’t then that’s totally fine too! Just use regular graham crackers to make a crust. These will be just as tasty!
Mi-Del also makes pre-made gluten-free pie crusts and they have a chocolate version. Just spread the chocolate cheesecake mixture into the already made pie crust and serve in slices instead of as bars.
If you want to get really easy, you can place chocolate creme cookie (aka Oreos – a gluten-free version, of course) at the bottom of a cupcake liner. Then fill the cupcake liner with the cheesecake mixture. I will say that this batter is pretty creamy so it can get a tad messy, but I have also done it that way before!
Also, in regards to the whipped cream, I highly suggest making your own. It’s very easy and I think it tastes like Cool Whip..but even better!! It’s just 1 cup heavy whipping cream, ¼ cup powdered sugar, and 1 teaspoon vanilla extract (instructions are within the recipe above).
Enjoy!
You can PIN this recipe by clicking on the photo below.

Leave a Reply